

Contents
Getting Started - Plugixa Testimonial
This guide walks you from a clean WordPress install to a published testimonial section in under five minutes.
Install
From the WordPress.org plugin directory
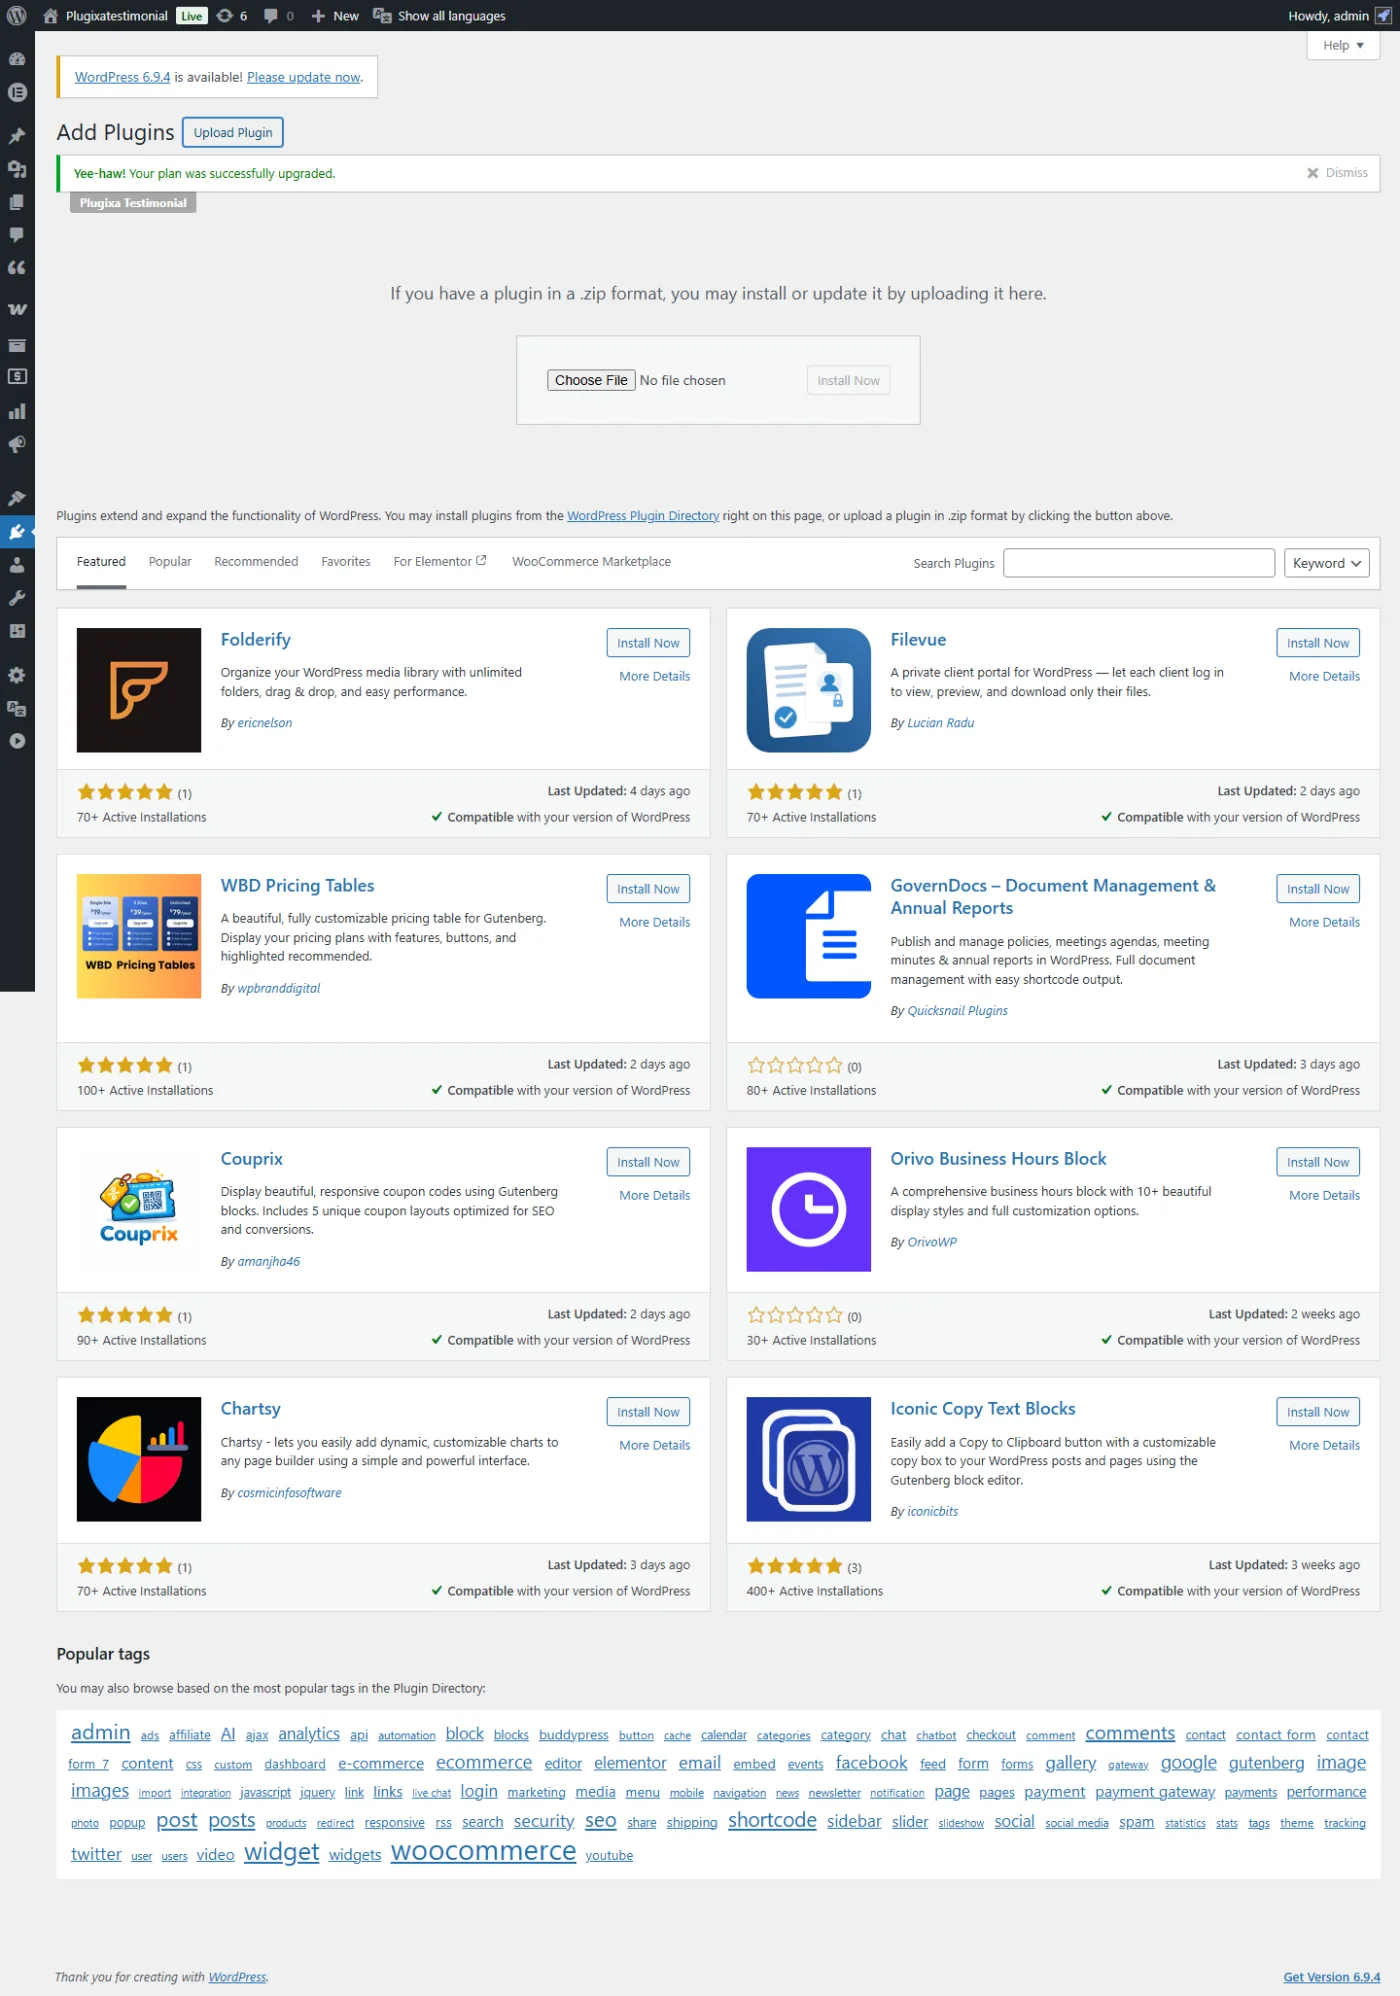
- In wp-admin, go to Plugins → Add New.
- Search for Plugixa Testimonial.
- Click Install Now, then Activate.
From a ZIP file
- Download
plugixatestimonial.zipfrom your Plugixa account (for Pro) or WordPress.org (for Free). - In wp-admin, go to Plugins → Add New → Upload Plugin.
- Choose the ZIP and click Install Now, then Activate.
What happens on activation
When you activate the plugin, the installer:
- Creates 8 database tables with prefix
{wpdb_prefix}plugixatestimonial_*. - Seeds 4 default views: Grid, Slider, Masonry, List.
- Sets sane defaults in the
plugixatestimonial_settingsoption. - Registers the
[plugixa_testimonials]and[plugixa_testimonial_form]shortcodes. - Registers the Gutenberg block.
- Registers the Elementor widget if Elementor is active.
- Grants 5 custom capabilities (
plugixa_testimonial_manage,_edit,_delete,_approve,_settings) to the Administrator role. - Backfills
language_code+translation_groupUUIDs on any existing rows if multilingual is active.
No pages, posts, or menus are created - you get a clean slate.
First look
After activation, a new Plugixa Testimonial menu appears in wp-admin:
| Menu item | What it does |
|---|---|
| Dashboard | Stats, charts, recent testimonials, quick actions |
| Testimonials | Create, edit, order, filter, approve |
| Categories | Organize testimonials into groups |
| Views | Design presets (layout, colors, typography, pagination) |
| Shortcodes | Saved shortcode configurations + visual builder |
| Custom Fields | Define custom fields per testimonial |
| Google Reviews PRO | Import reviews from Google Business Profile |
| Requests | Email customers with tokenized submission links |
| Settings | Global plugin configuration (10 tabs) |
| Account | Your Plugixa license and upgrade link |
Activating your license (Pro)
After purchasing a license:
- Go to Plugixa Testimonial → Account.
- Enter the license key from your purchase email (or click the Activate License link there).
- Freemius downloads the Pro ZIP, which populates
wp-content/plugins/plugixatestimonial/pro/. - Next page load: the sidebar, settings tabs, and in-form gates unlock automatically.
Free users can skip this step. See Free vs Pro for what each tier unlocks.
Publish your first testimonial
1 · Create a category (optional but recommended)
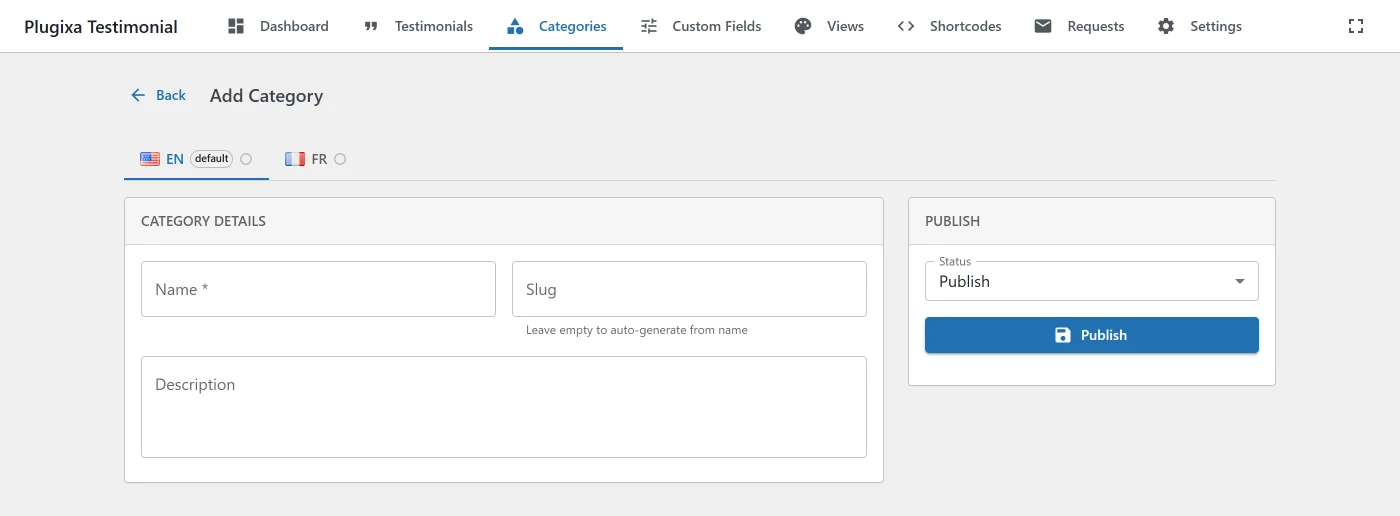
Go to Plugixa Testimonial → Categories → Add New.
- Name - a label like “Product Reviews” or “Happy Customers”.
- Slug - auto-generated from the name (URL-friendly).
- Description - optional; can be displayed above filtered testimonials.
Save. You now have an empty category.
2 · Create a testimonial
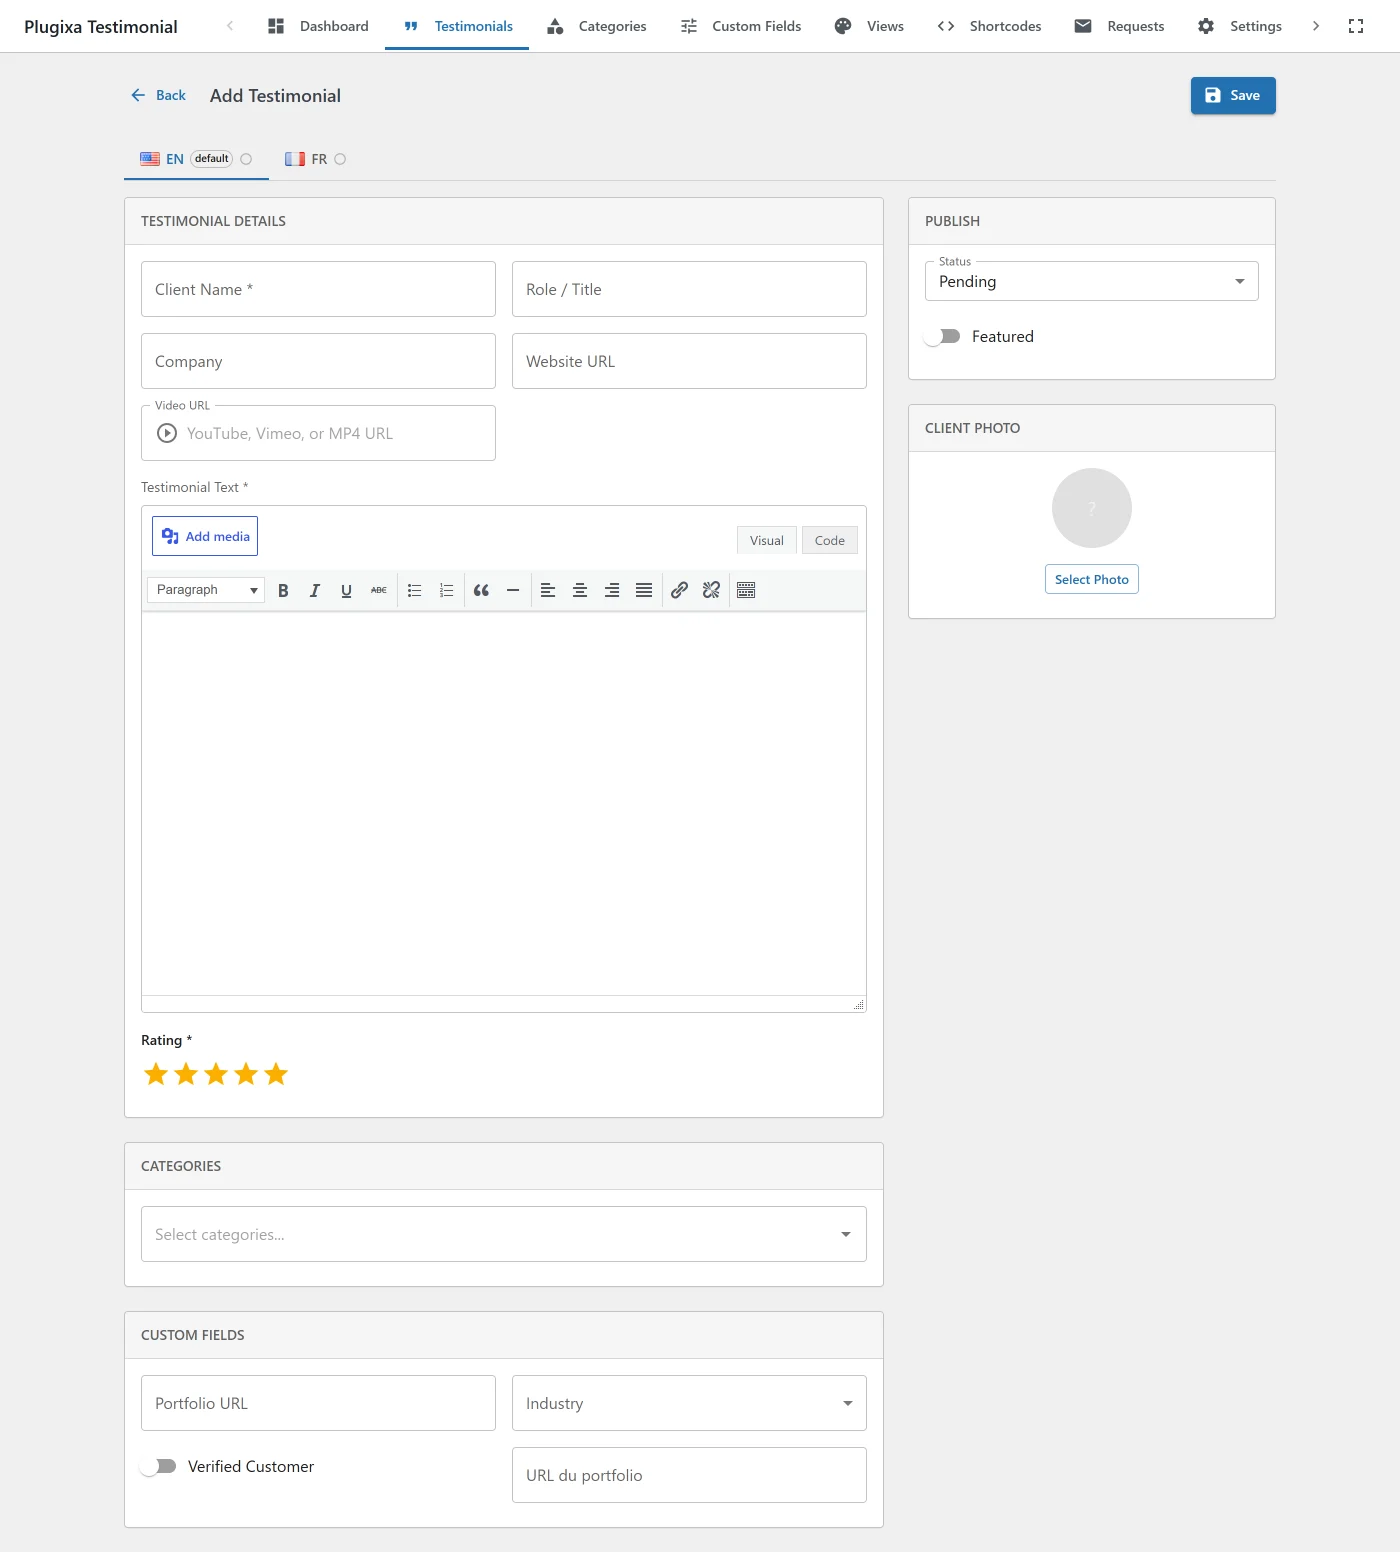
Go to Plugixa Testimonial → Testimonials → Add New.
Fill in:
- Client Name - full name of the person (required).
- Testimonial Text - rich-text (required).
- Role / Company - optional context.
- Rating - 1–5 stars (optional).
- Photo - upload from the Media Library (initials fallback if empty).
- Category - pick the category you just created.
- Status -
approvedto make it live,pending/draft/rejectedto hide.
Click Save.
3 · Display testimonials on a page
Create a new WordPress page (Pages → Add New), and add the shortcode:
[plugixa_testimonials]
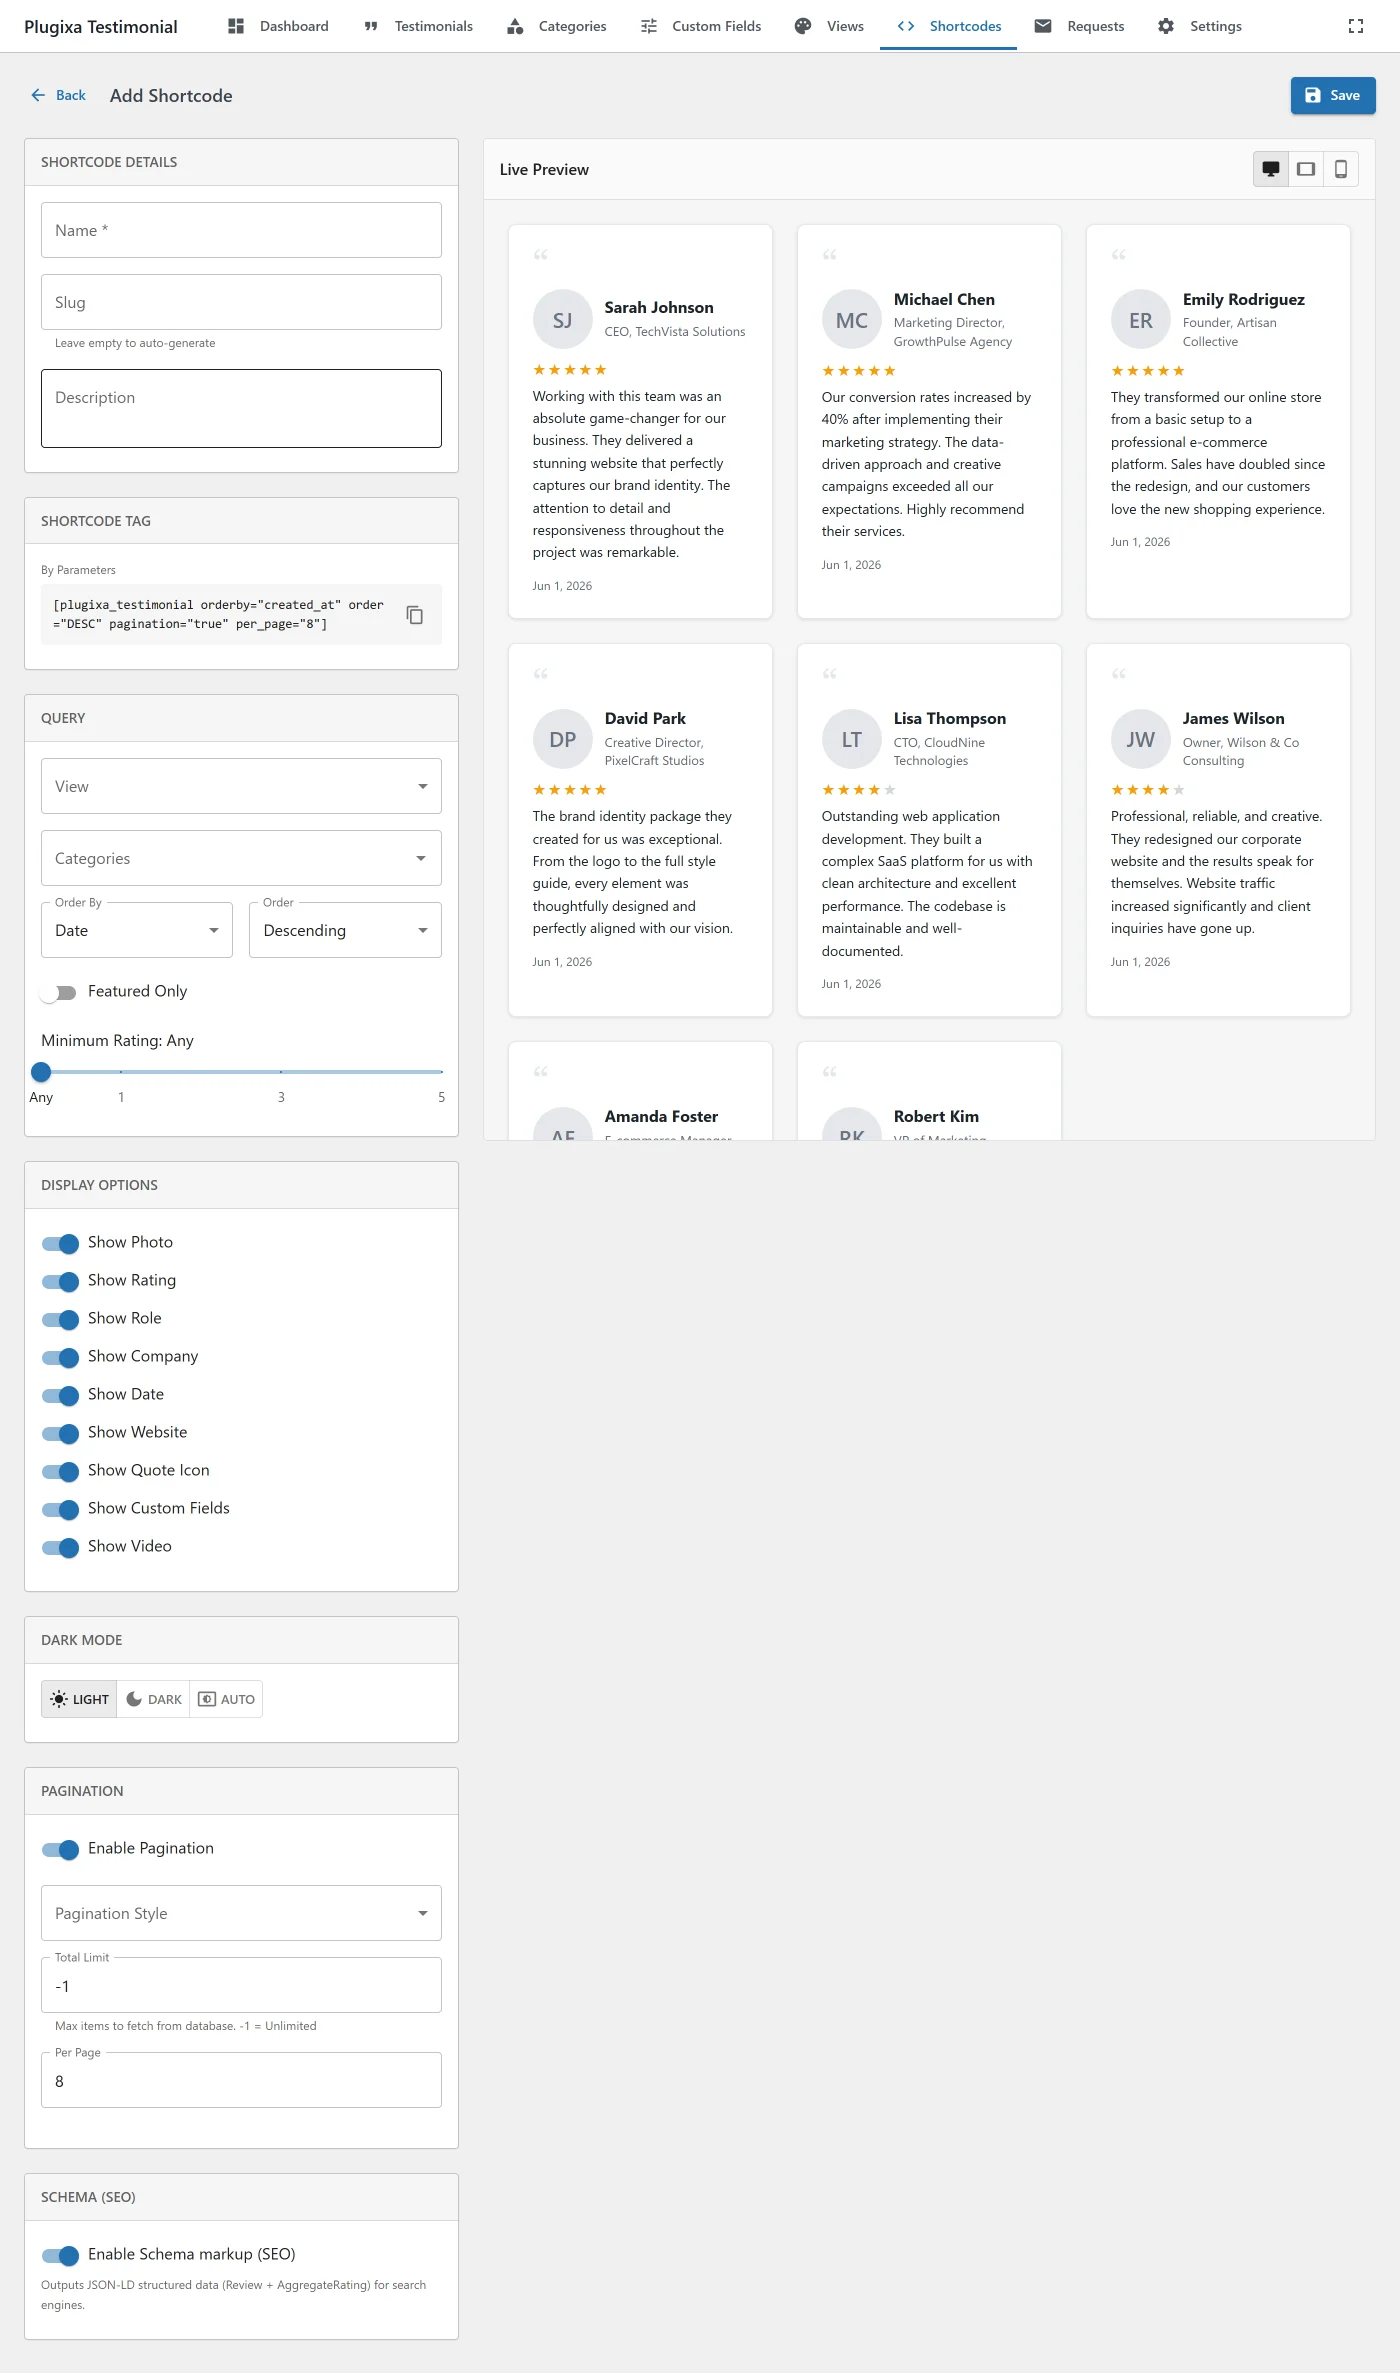
Or use the Plugixa Testimonial Gutenberg block and pick a view/category from the block sidebar. See Blocks.
Publish the page. Visit it on the frontend - your testimonials are live.

4 · Load demo data (optional, Pro)
If you have a Pro license and want to explore with sample content:
- Go to Plugixa Testimonial → Dashboard.
- Click Load Demo Data (visible only when the site has zero testimonials).
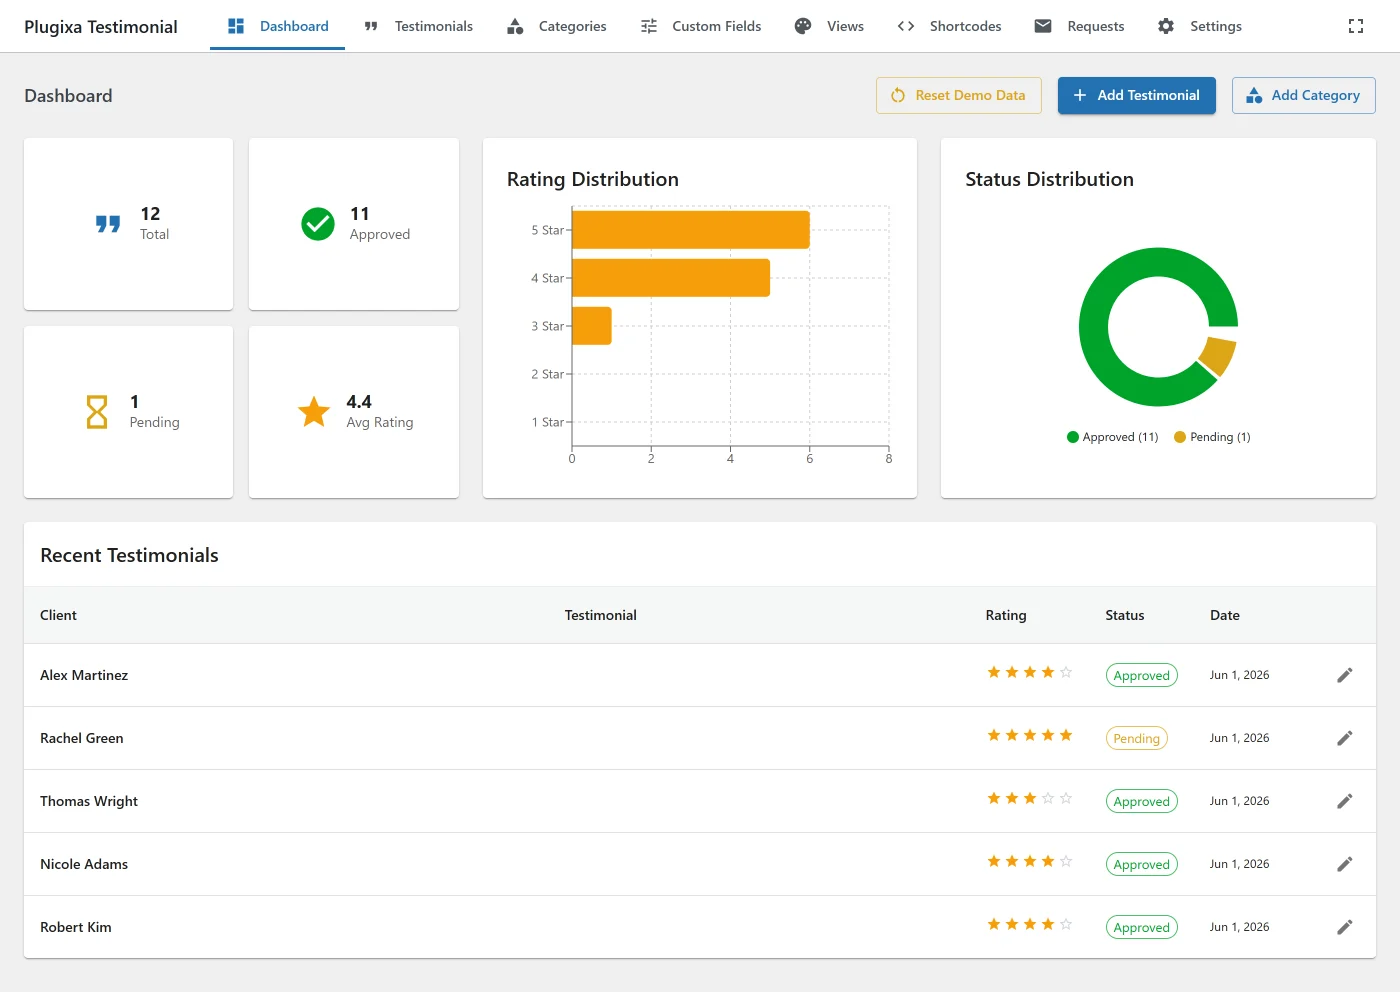
- The seeder inserts 4 categories, 12 testimonials (varied statuses and ratings, 3 featured), 5 themed views, and 5 shortcodes.
Click Reset Demo Data at any time to truncate and re-seed.
What to do next
- Customize the design - see Views.
- Organize with categories - see Categories.
- Filter and paginate - see Shortcodes.
- Let visitors submit testimonials - see Submission Form.
- Email customers for testimonials - see Testimonial Requests.
- Enable social-proof popups - see Social Proof.
- Import from Google PRO - see Google Reviews.
Quick tips
- The plugin ships with a reasonable default view, so
[plugixa_testimonials]on its own produces a usable grid immediately. - All utility classes are prefixed
pxt-*so the plugin never clashes with your theme. - JSON-LD schema is on by default - search engines start treating your testimonials as structured
Reviewdata right away. - The admin SPA auto-detects WPML/Polylang - enabling a multilingual plugin is the only setup step to activate translation features.
System requirements
| Requirement | Minimum |
|---|---|
| WordPress | 6.0 |
| PHP | 8.0 |
| MySQL | 5.7 (or MariaDB 10.3) |
| Browser | Current Chrome, Firefox, Safari, Edge |
Optional: WooCommerce 7.0+, Elementor 3.0+, WPML or Polylang, Google Places API key (Pro Reviews).
The plugin does not require Node.js or a build step - assets are precompiled and shipped with the ZIP.
Uninstalling
Deactivating the plugin leaves your data in place. To remove all data:
- Plugins → Deactivate Plugixa Testimonial.
- Plugins → Delete.
- When prompted, confirm “Also delete all plugin data”.
Alternatively, from the admin: Settings → Advanced → Delete all data before deactivating.
Your testimonials, categories, views, shortcodes, requests, custom fields, and settings are dropped. This is irreversible.