

Contents
Getting Started - Plugixa Image Map
This page takes you from a fresh install to a map on a page.
Requirements
| Minimum | |
|---|---|
| WordPress | 6.5 |
| PHP | 8.2 |
| Browser for editing | A current Chrome, Edge, Firefox or Safari |
Install
- In WordPress go to Plugins > Add New Plugin.
- Search for Plugixa Image Map, or choose Upload Plugin and pick the ZIP.
- Click Install Now, then Activate.
A new Plugixa Image Map item appears in the WordPress admin menu. It opens the plugin’s own screen, which has its own sidebar: Dashboard, All maps, Import & export and Settings (and Statistics PRO). The first time you open it you are asked whether to share basic usage data. Skip is a real choice: the plugin works the same either way.
1. Create a map
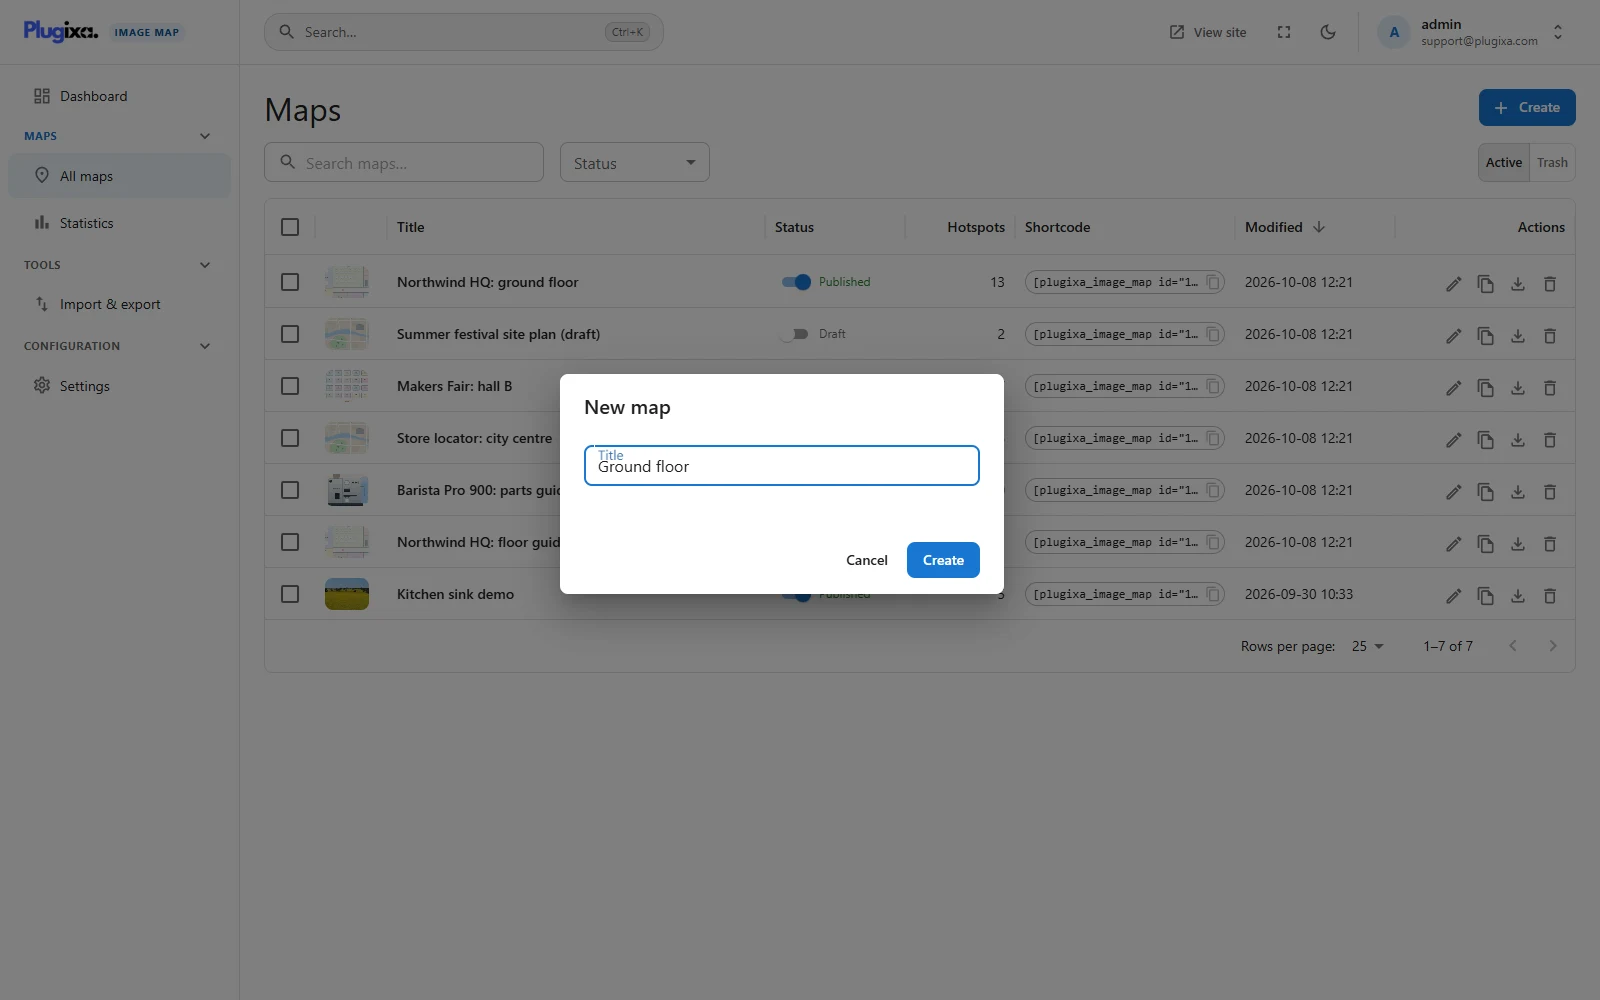
Open Plugixa Image Map, choose All maps in the plugin’s sidebar and click Create. Give the map a title, for example Ground floor, and press Enter.
2. Choose the picture
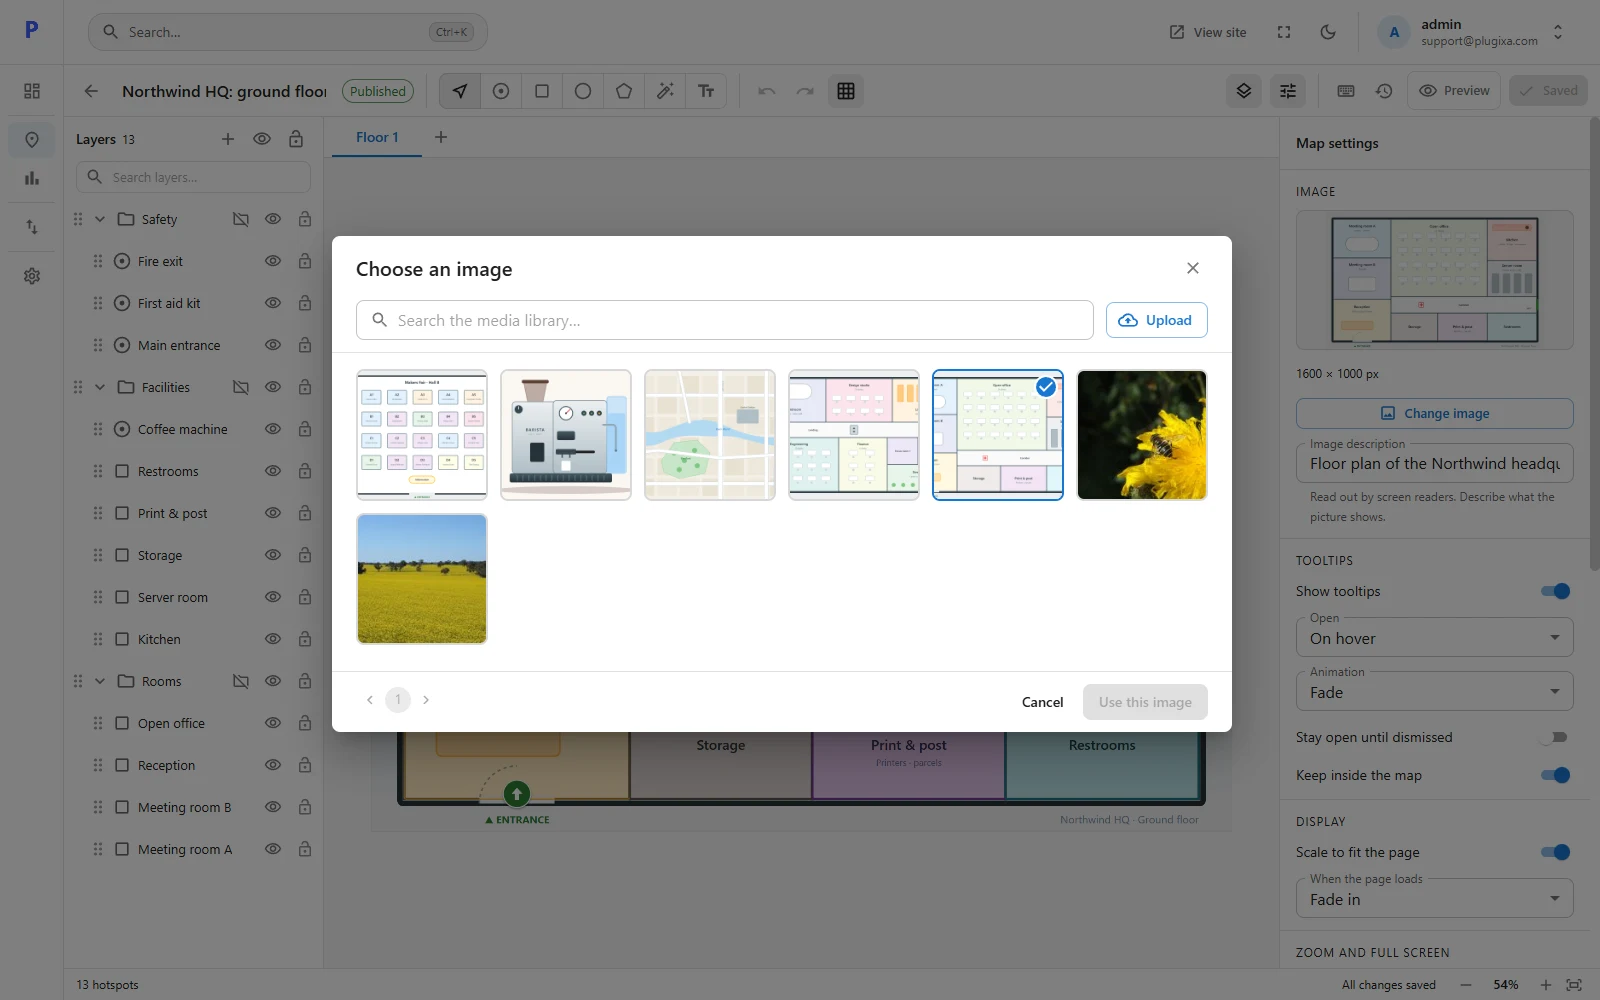
The editor opens and asks for an image. Click Choose image and pick one from the media library, or upload a new one. Any JPEG, PNG, GIF or WebP works. Use the largest copy you have: visitors can zoom in, and the map scales down by itself.
3. Draw a hotspot
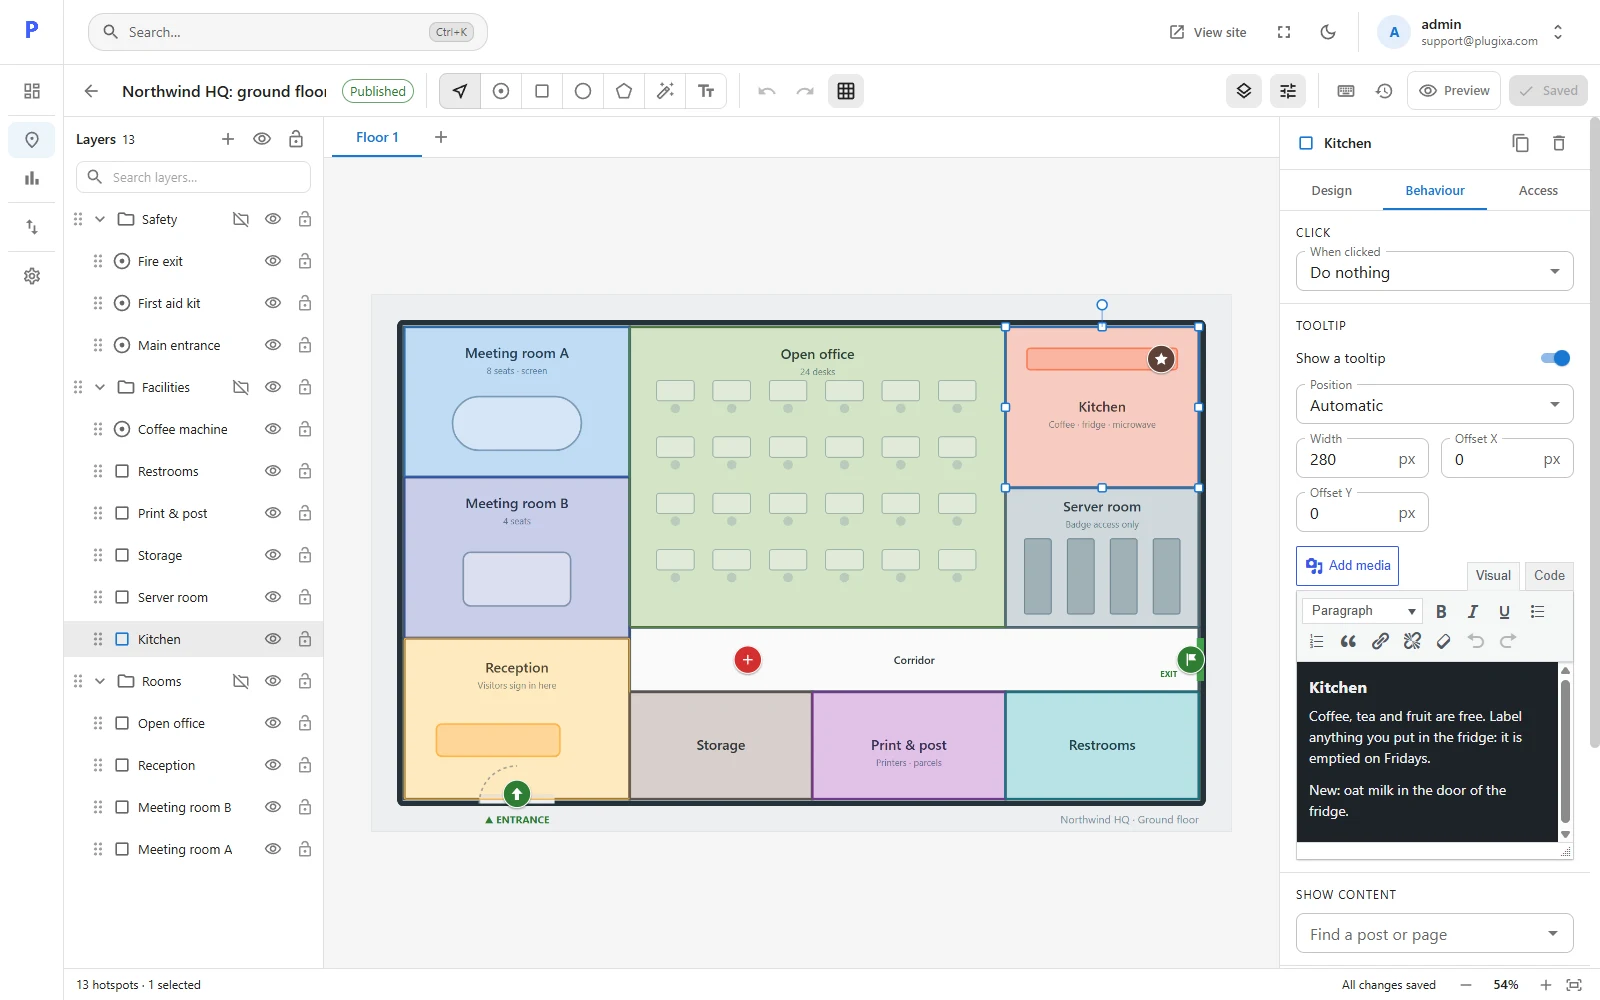
Pick the Rectangle tool in the toolbar (or press R) and drag over a part of the picture. The new hotspot is selected and its settings open on the right.
- On the Design tab, give it a name and a colour.
- On the Behaviour tab, write what its tooltip should say.
4. Save and publish
Click Save (or press Ctrl + S). A new map is a Draft, and a draft prints nothing on your site. Back in All maps, switch the Publish toggle on.
5. Put it on a page
Each row in All maps shows the map’s shortcode. Click it to copy, then paste it into any page or post:
[plugixa_image_map id="12"]
In the block editor you can add the Image Map block instead and choose the map from a list.
Where to go next
- Drawing hotspots covers all five tools.
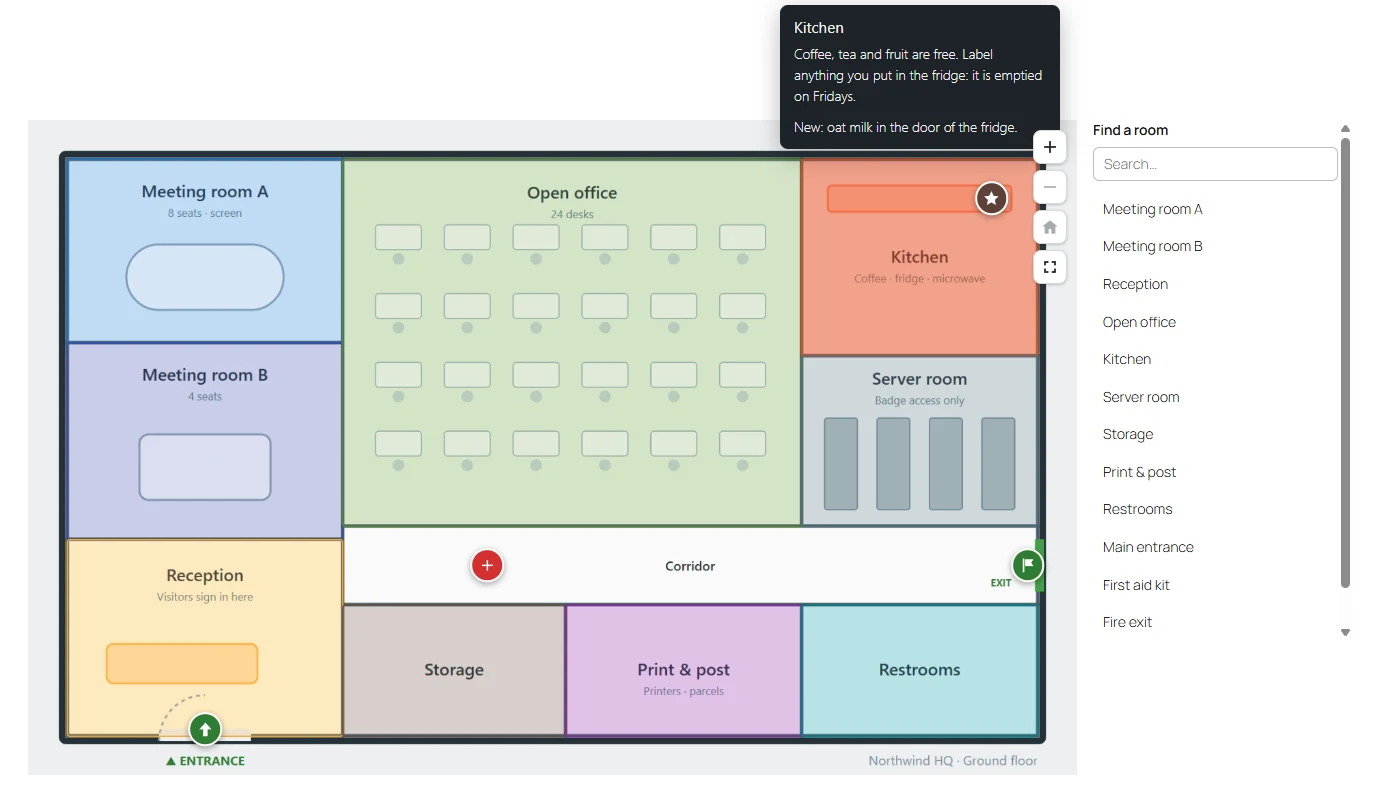
- Map settings turns on zoom, full screen and the location list.
- Import and export brings over maps from Image Map Pro.
- Installing and updating covers moving to Pro, updates and removal.