

Contents
Getting started - Plugixa Inventory
This walks from a clean install to real stock on hand. Ten minutes, and nothing has to be configured first.
Install
Plugins -> Add New -> Upload Plugin, choose the ZIP, activate. Or unzip into
/wp-content/plugins/ so the main file sits at
/wp-content/plugins/plugixa-inventory/plugixa-inventory.php.
Free and Pro are separate downloads, not a switch. The Pro build is the free plugin plus a
pro/directory, so there is nothing to unlock in place: you install the other ZIP over the top, and the data stays exactly where it is.
Activation creates the plugin’s own database tables. It does not create posts or custom post types, because stock levels, ledger rows and document lines are relational data.
The order to do things in
Inventory has one dependency chain, and doing it out of order is the most common early frustration.
Warehouse, then item, then stock. Stock belongs to an item and a warehouse, so until both exist there is nowhere to put a quantity.
1 - Create a warehouse
Warehouses -> Create. Give it a name and a short code - MAIN, WKSP,
VAN1. The code is what a CSV import can refer to later, so pick something you
would be happy typing into a spreadsheet.
Create the ones you actually have. A van is a warehouse. So is a shelf in a cupboard, if you want to know what is on it.
2 - Add a category or two
Categories -> Create. Optional, but the dashboard breaks value down by category, so a catalogue with none has nothing to break down.
3 - Add an item
Items -> Create. The fields that matter:
| Field | Why |
|---|---|
| Name | What people call it |
| SKU | Your own code. Unique, and what an import matches on |
| Barcode | What the scanner reads |
| Type | Asset, consumable or sellable |
| Cost price | What stock is valued at |
| Reorder level | The point below which it counts as low stock |
Leave the cost price empty and valuation falls back to the sale price, which overstates what you hold by your whole margin. Fill it in.
4 - Put stock in
This is the step people look for and do not find, because there is no quantity box on the item. Stock is not a field you type; it is the result of a document.
Go to Stock movements -> Create, choose Add stock, pick the warehouse, add the item and a quantity, and save as a draft. Nothing has changed yet.
Then finalise it. That is the moment the stock exists, the ledger gets its first row, and the dashboard starts showing a value.
A finalised document cannot be edited or deleted. If you get it wrong, post a second, opposite document - which is visible, and is what an audit trail is for.
Already have a catalogue?
Skip steps 2 to 4 and import it. A CSV of items, categories, warehouses and people comes in with a column-matching step, and opening stock arrives as a real finalised movement rather than a number written onto a record - so the ledger and the valuation agree with it from the first day.
If it goes wrong, revert the import: the records go to the trash and the stock is taken back out with a reversing document.
Where things are
| Screen | What it is for |
|---|---|
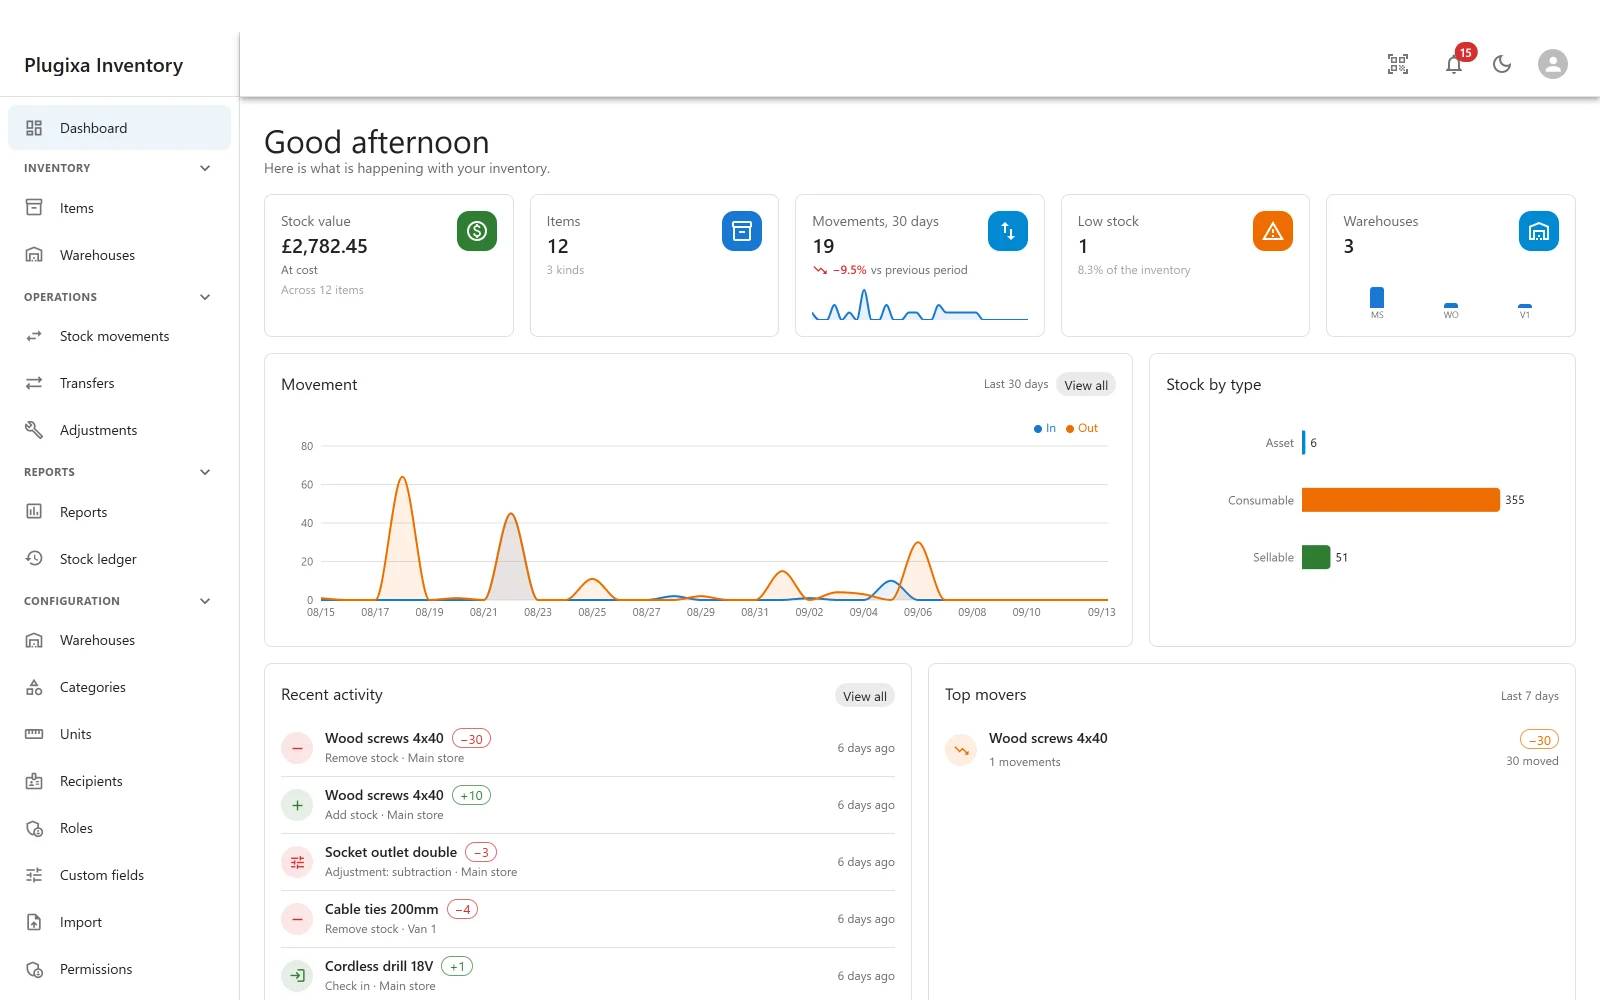
| Dashboard | Value, movement trend, top movers, what is running out |
| Items | The catalogue |
| Warehouses | Locations, and a view per location |
| Stock movements | The documents that move stock |
| Stock ledger | Every change ever made |
| Categories, Recipients | Supporting records |
| Import | Bring a catalogue in from CSV |
| Settings | Formatting, currency, appearance, and each app’s options |
| App manager | Turn features off without losing their data |
Put it on your own site
Staff who should not be in wp-admin do not have to be. Add
[plugixa_inventory_app] to a page and the whole application runs there, inside
your theme, with the same API and the same permissions. See
The Shortcode.
What to do next
- Understand the document flow in Stock Movements.
- See why the numbers can be trusted in The Stock Ledger.
- Bring in a catalogue with Import.