

Contents
On this page
Form placement - Plugixa Extra Product Options
By default the options form sits just above the quantity box and the Add to cart button. Pro lets you choose another spot, or put the form anywhere on the product page with a block or a shortcode, such as in a second column or under the description.
Choosing the spot
Open Plugixa Product Options > Settings, section Where the form shows, and pick a position under On the product page:
| Position | Where the form shows |
|---|---|
| Before the add-to-cart button (default) | Just above the quantity box and the button, inside WooCommerce’s form |
| After the add-to-cart button | Just after the button, still inside the form |
| Above the quantity and button | Above the whole add-to-cart form, variation choices included |
| Below the quantity and button | Below the whole add-to-cart form |
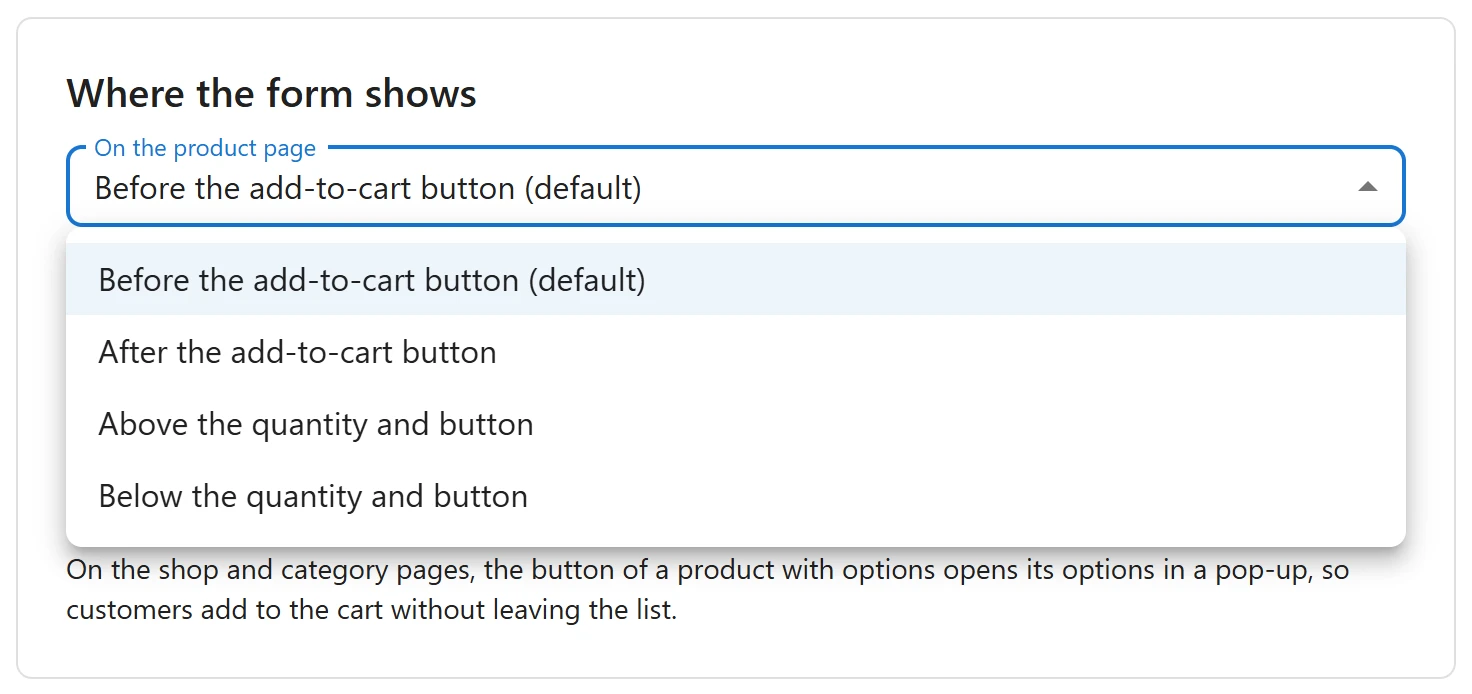
The choice applies to every product. It is saved at once.
Anywhere else: block or shortcode
To show the form in another place on the product page:
- In a block theme’s Single Product template, or a page builder, add the Product options block where the form should go.
- Anywhere that takes a shortcode, add
[plugixa_epo_options].
The form then shows only there. It still works with the add-to-cart form: its fields are sent with the product, and the live total follows the quantity and the variation.
Showing a given product’s options
On a page that shows another product’s add-to-cart form, for example with WooCommerce’s
[product_page id="12"] shortcode, name the product: [plugixa_epo_options product="12"].
Always safe
The form is always printed in its usual spot first. A small script then moves it into the block or shortcode, before the options script starts. So:
- Without JavaScript, the form stays in its usual spot and the product can still be bought.
- If a theme prints the description twice, or drops a copy of the page, the product never loses its form.
Quick Links
Share