

Contents
On this page
Getting started - Plugixa Extra Product Options
This page takes you from a fresh install to a first order with options. It takes about ten minutes. As an example we build a Gift options group with gift wrap and a card message.
Requirements
| Requirement | Version |
|---|---|
| WordPress | 6.6 or later |
| PHP | 8.2 or later |
| WooCommerce | 9.0 or later, installed and active |
The plugin works with the classic cart and checkout pages and with the Cart and Checkout blocks, and with High-Performance Order Storage (HPOS).
1. Install and activate
- In WordPress, go to Plugins > Add New and search for Plugixa Extra Product Options, or upload the plugin’s ZIP file with Upload Plugin.
- Click Activate. WooCommerce must be active first: WordPress refuses to activate the plugin without it.
- On the first screen you can opt in to share basic usage data with us, or skip it. Skipping changes nothing in how the plugin works.
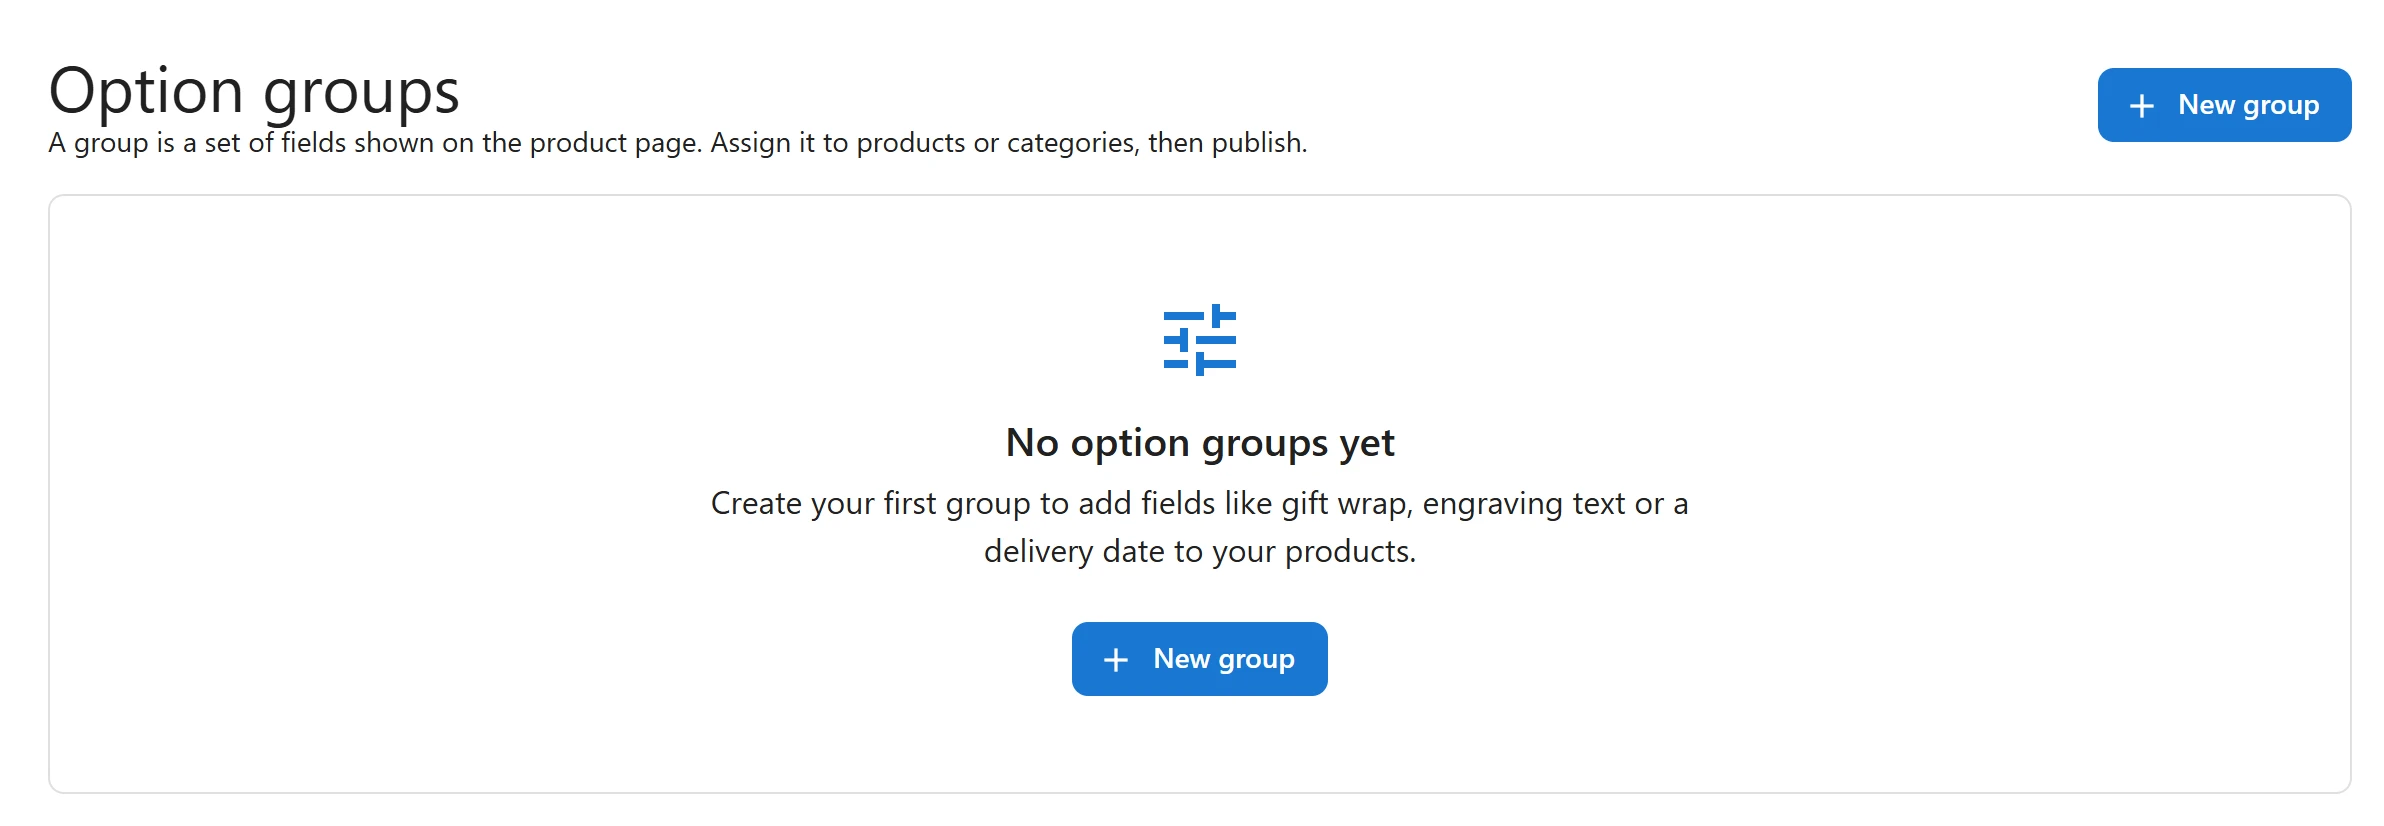
The plugin adds a Plugixa Product Options item to the admin menu. It opens on the list of option groups, which is empty for now.
2. Create a group
- Click New group.
- In Group name, type
Gift optionsand click Create. Only you see this name: customers see the fields, not the group’s name. You can rename the group later by clicking its name at the top of the editor. - The editor opens. While no field is selected, the right-hand column shows the group’s own settings. Under Where it shows, pick the products the group belongs on. For a first test, choose one product in Products. You can switch on All products later.
You can also start from a product: on the product’s edit screen, open the Product options tab in the Product data box and click Create a group for this product. The new group is then already aimed at that product.
3. Add the fields
The editor has three columns: the field types on the left, the form you are building in the middle, and the settings of the selected field on the right.
- Click Radio buttons in the field list. Name it
Gift wrap, and in the Options tab type two choices:No wrappingwith No price, andGift wrapwith a Fixed amount of4. - Click Text area. Name it
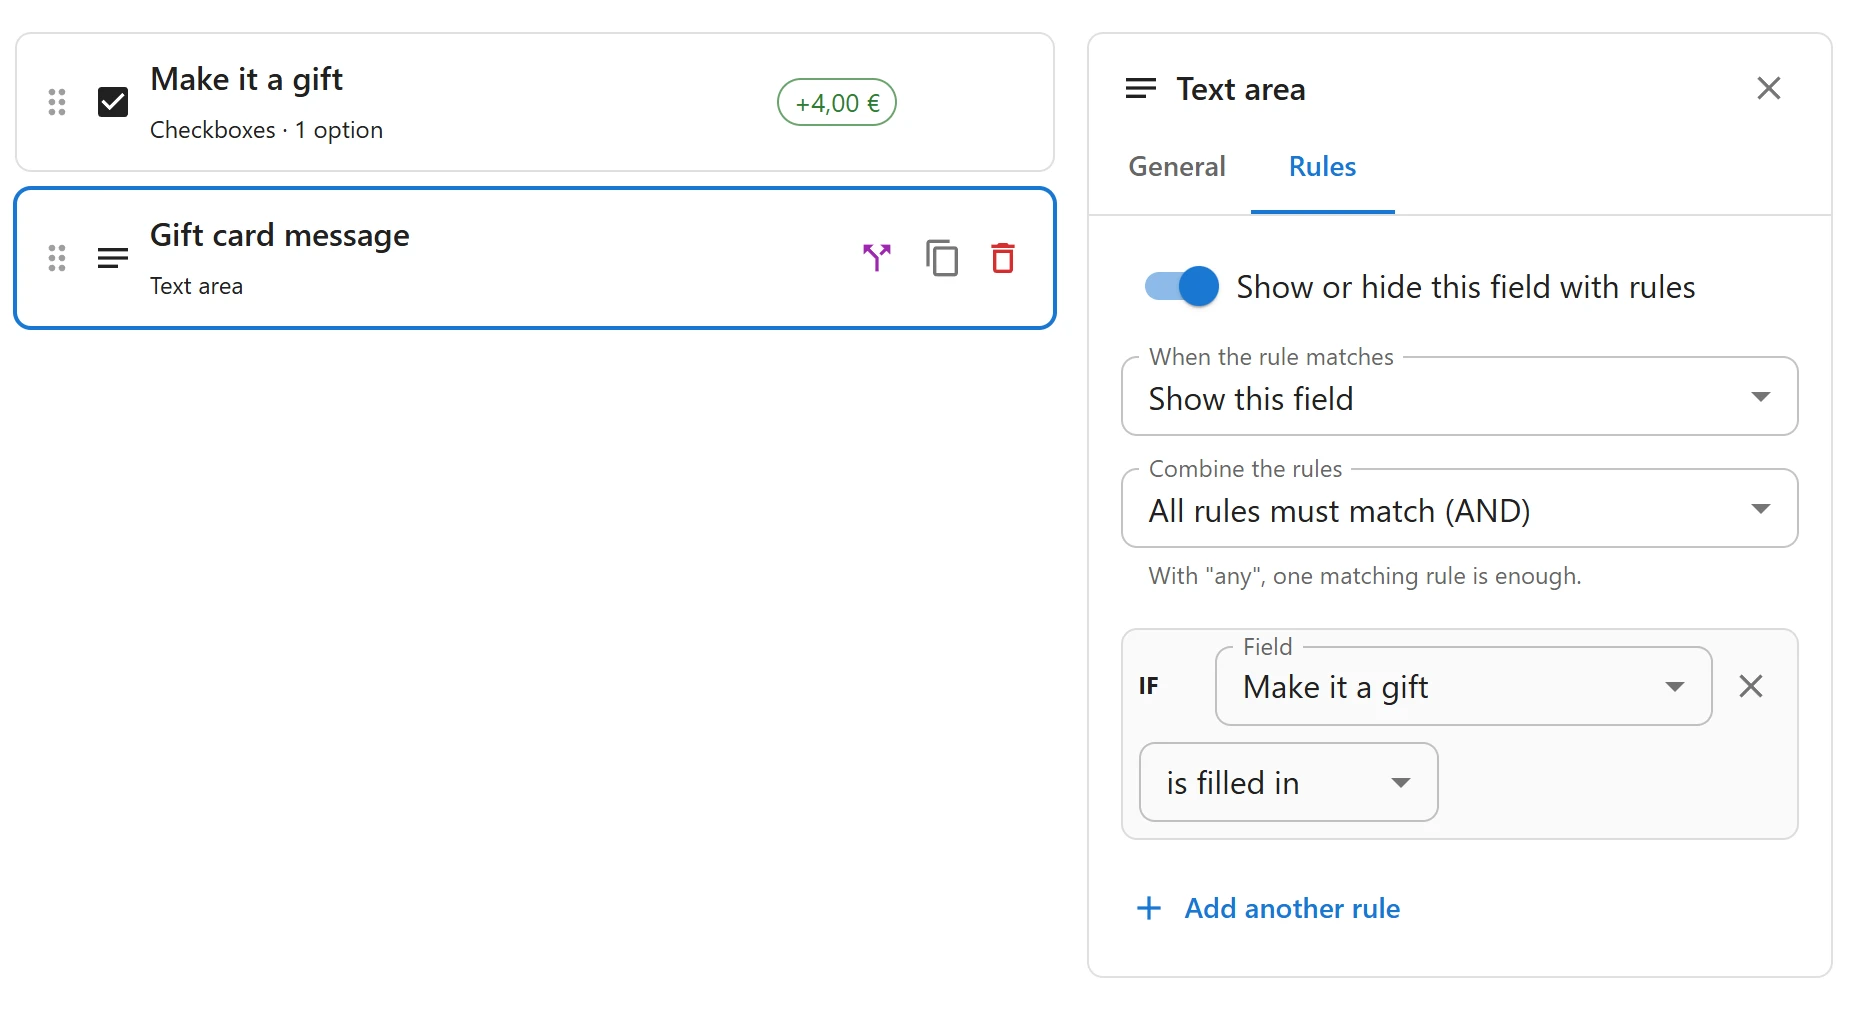
Card message, and set Max. characters to200. - Open the Rules tab of Card message, switch on Show or hide this field with rules, and set it to show when Gift wrap is Gift wrap. The message box now only appears when the customer picks wrapping.
4. Publish
Click Save draft whenever you like: a draft is never shown to customers. When the group is ready, click Publish. The editor checks the group first, for example that every field has a label and every choice field has at least one choice, and lists anything to fix.
Once published, the group’s status in the list is Published. If you edit it again, it shows Unpublished changes until you publish once more: customers keep seeing the last published version in the meantime.
5. Try it on the store
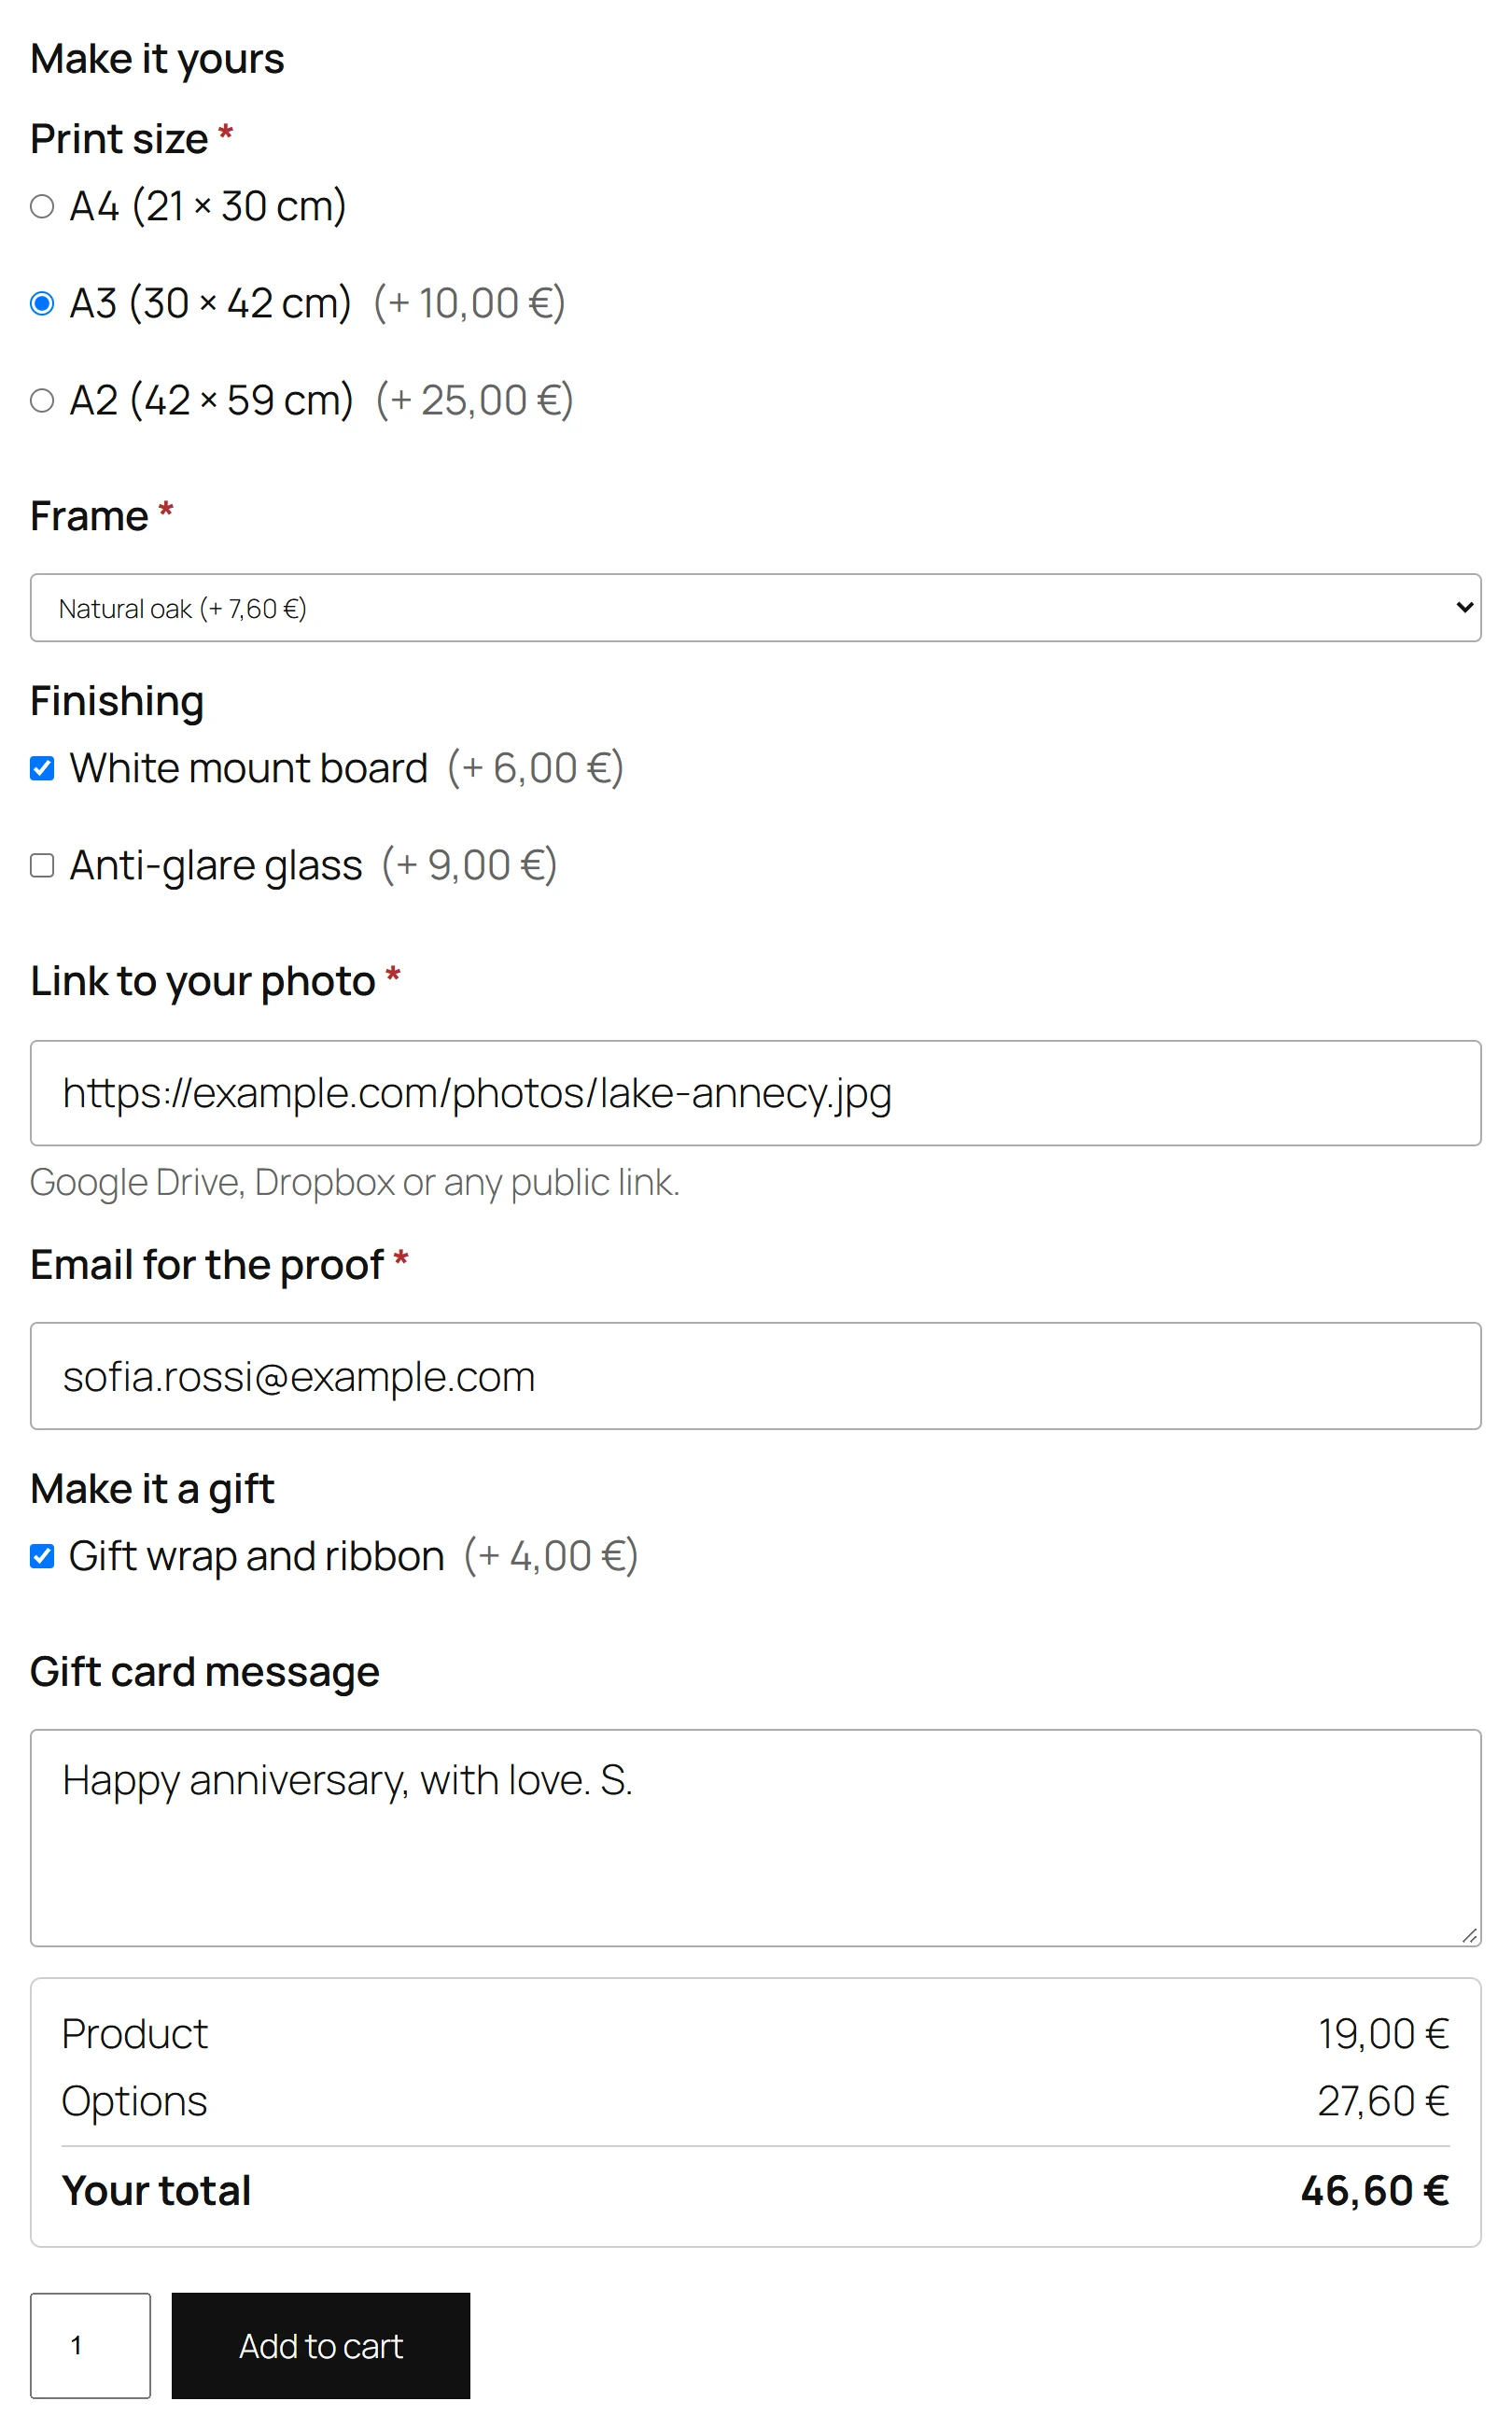
- Open the product on your store. The Gift wrap choice shows above the Add to cart button, with a total under the options.
- Pick Gift wrap. The Card message box appears, and the total grows by 4.
- Type a message and add the product to the cart.
The cart shows the options under the product name, and the line price includes the wrap. The same options appear at checkout, on the order screen and in the order emails.
Next steps
- Learn every field type in Field types.
- Price choices as a percentage of the product in Pricing.
- Put the group on whole categories in Where groups show.
- Change the total’s label and the price hints in Settings.
Quick Links
Share