Contents
Getting Started — Plugixa Team
This guide walks you from a clean WordPress install to a published team page in under five minutes.
Install
From the WordPress.org plugin directory
- In wp-admin, go to Plugins → Add New.
- Search for Plugixa Team.
- Click Install Now, then Activate.
From a ZIP file
- Download
plugixateam.zipfrom your Plugixa account (for Pro) or WordPress.org (for Free). - In wp-admin, go to Plugins → Add New → Upload Plugin.
- Choose the ZIP and click Install Now, then Activate.

What happens on activation
When you activate the plugin, the installer:
- Creates 7 database tables with the prefix
{wpdb_prefix}plugixateam_*:plugixateam_members— team member recordsplugixateam_groups— groups / departmentsplugixateam_member_groups— many-to-many pivot with per-group orderingplugixateam_views— visual design presetsplugixateam_shortcodes— saved shortcode configurationsplugixateam_custom_fields— field definitions PROplugixateam_meta— per-member custom field values PRO
- Seeds 5 default views: Grid, Carousel, Masonry, List, Table PRO.
- Adds four capabilities to the
administratorrole:plugixa_team_manage,plugixa_team_edit,plugixa_team_delete,plugixa_team_settings. - Registers the
[plugixa_team]/[plugixa_team_form]shortcodes and the Gutenberg block. - Registers the Elementor widget when Elementor is active PRO.
- Registers the WooCommerce product tab when WooCommerce is active PRO.
- Migrates any legacy JSON custom-fields data to the new meta table (non-destructive; legacy column stays intact).
No pages, posts, or menus are created — you get a clean slate.
First look
After activation, a new Plugixa Team menu appears in wp-admin:

| Menu item | What it does |
|---|---|
| Dashboard | Stats, charts, recent members, demo-data controls PRO |
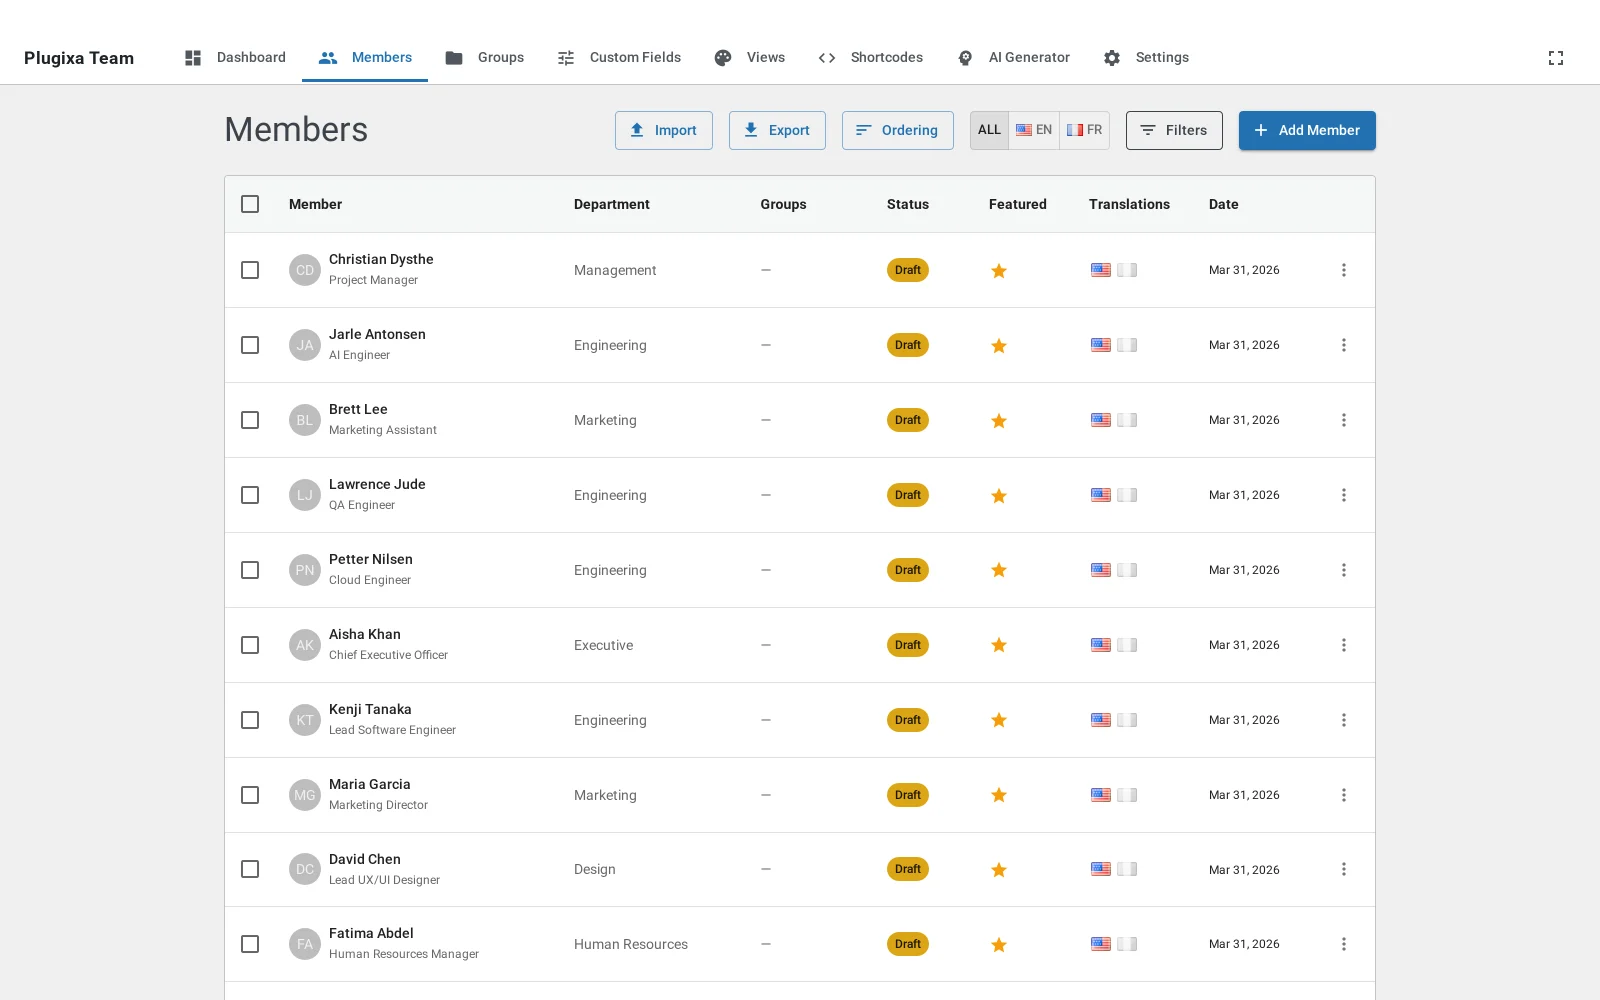
| Members | Create, edit, reorder, filter |
| Groups | Organize members into groups / departments |
| Views | Design presets (9 layouts, colors, typography) |
| Shortcodes | Saved shortcode configurations + visual builder |
| Custom Fields PRO | Define custom fields per member |
| AI Generator PRO | Generate members from topic, URL, or PDF |
| Import / Export PRO | CSV, JSON, PDF export + import wizard |
| Settings | Global plugin configuration |
| Account | Your Plugixa license and upgrade link |
Activate your Pro license (Pro users only)
- Go to Plugixa Team → Account.
- Enter your license key from your Plugixa account.
- Click Activate. The page reloads with Pro features unlocked.
If the license fails, see Troubleshooting → License won’t activate.
Publish your first team
1 · Create a group (optional but recommended)
Go to Plugixa Team → Groups → Add New.

- Name — a label like “Engineering” or “Leadership”.
- Slug — auto-generated from the name (used in shortcodes).
- Description — optional.
- Display order — controls where the group appears in the groups nav.
Save. You now have an empty group.
2 · Create a member
Go to Plugixa Team → Members → Add New.

Fill in:
- First name / Last name — required.
- Slug — auto-generated from the name.
- Job title and Department — optional but recommended.
- Photo — click to pick from the WP media library.
- Bio and Short bio — rich-text via the WYSIWYG editor.
- Skills — add rows of
name / percentage / colorfor progress bars. - Social links — add rows of
platform / URL(LinkedIn, GitHub, Twitter, etc.). - Groups — assign to one or more groups.
- Status —
publishedto make it live.
Click Save.
3 · Display the team on a page
Create a new WordPress page (Pages → Add New), and add the shortcode:
[plugixa_team]
Or use the Plugixa Team Gutenberg block and pick a view / group from the block sidebar. See Blocks.
Publish the page. Visit it on the frontend — your team is live with the default Grid view.

Want to see a finished demo? PRO
Pro installs include a one-click demo seeder:
- Go to Plugixa Team → Dashboard.
- Click Load Demo Data (visible when no members exist).
- The plugin inserts 5 groups, 16 members (mixed roles, departments, skills, social links), 5 distinct views, and 5 shortcodes.
Reset or re-seed anytime with Reset Demo Data — it truncates and re-inserts everything.
What to do next
- Customize the design — see Views.
- Organize with groups — see Groups.
- Filter and paginate — see Shortcodes.
- Add custom fields PRO — see Custom Fields.
- Generate members with AI PRO — see AI Generator.
- Import from CSV PRO — see Import / Export.
- Translate into multiple languages — see Multilingual.
Quick tips
- The plugin ships with sensible defaults, so
[plugixa_team]on its own produces a usable grid immediately. - All utility classes use the
pxtprefix (pxt:flex,pxt-custom-card) so the plugin never clashes with your theme. - JSON-LD schema is on by default — search engines start treating your team page as structured content right away.
- Want to preview without publishing? Set member status to
draft— it’s hidden from the frontend but visible in the admin preview. - Use the Live Preview button in any view or shortcode form to see changes update in real time across desktop / tablet / mobile viewports.
System requirements
| Requirement | Minimum |
|---|---|
| WordPress | 6.0 |
| PHP | 8.0 |
| MySQL | 5.7 (or MariaDB 10.3) |
| Browser | Current Chrome, Firefox, Safari, Edge |
Optional:
- Polylang for multilingual teams — see Multilingual
- Elementor 3.0+ for the Pro Elementor widget
- WooCommerce 6+ for the Pro product tab
- Yoast SEO / RankMath — automatic integration, no setup needed
The plugin does not require Node.js or a build step — assets are precompiled and shipped with the ZIP.
Uninstalling
Deactivating the plugin leaves your data in place. To remove all data:
- Plugins → Deactivate Plugixa Team.
- Plugins → Delete.
- Confirm when prompted.
Uninstall drops all 7 tables, removes the four capabilities, and clears the plugin’s options. This is irreversible.