

Contents
Getting started - Plugixa FAQ
Where this appears: the Plugixa FAQ menu in the WordPress admin.
Five minutes, from an empty install to a working FAQ on a page.
1. Install and activate
From the WordPress admin, go to Plugins, then Add New, and search for Plugixa FAQ. Or upload the ZIP through Plugins, Add New, Upload Plugin. Activate it, and a Plugixa FAQ item appears in the admin menu.
The plugin creates its own database tables on activation. It does not use posts or post meta, which is why questions can carry real columns for things like view counts and a translation group.
2. Make a category
Open Categories and add one. A name is enough; the slug fills itself in. An icon and a colour are optional and are used by the filter bar on the front end.
You can skip this and put everything in one list, but categories are what make the filters and the grouped layouts worth having, so it is worth doing first.
3. Write an answer
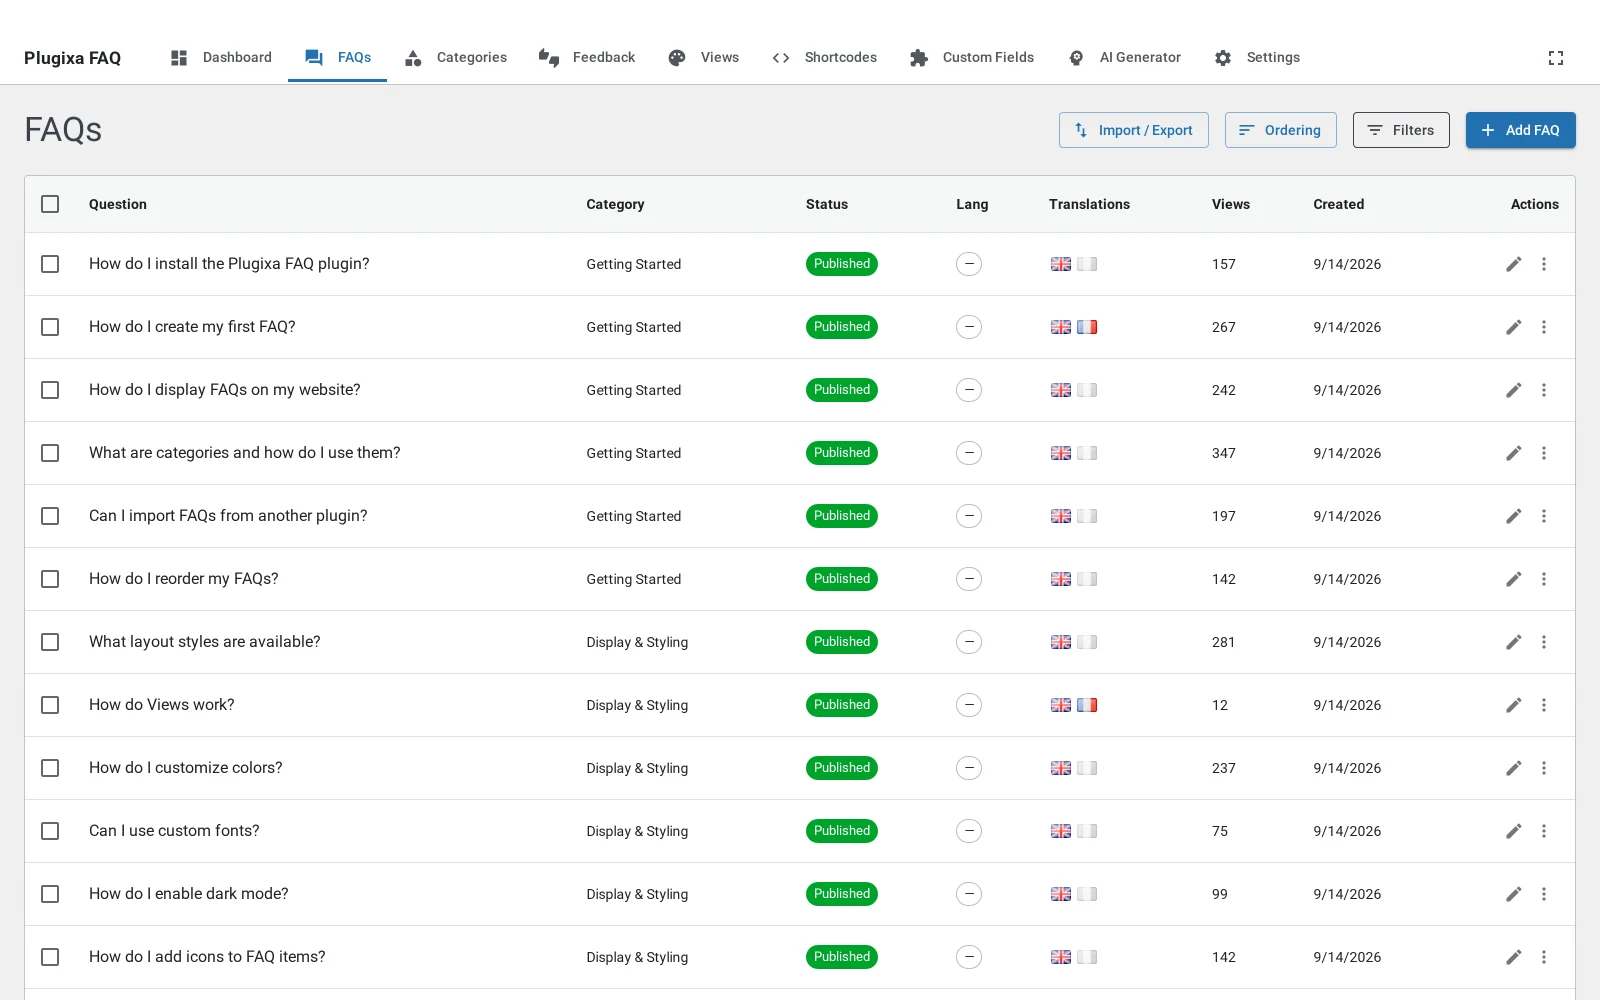
Open FAQs, then Add FAQ. You need a question and an answer. The answer is a rich text editor, so lists, links, bold and images all work.
Set the status to Published. A draft is saved but not shown on the front end, which is also how submitted questions arrive.
4. Put it on a page
Add [plugixa_faq] to any page, post or widget area. That renders every
published answer in the default design.
To choose a design, name a view:
[plugixa_faq view="support-center-pro"]
To limit it to one category, and turn on search:
[plugixa_faq category="billing" search="true"]
If you would rather not remember attribute names, the shortcode builder assembles one visually and saves it under a name.
5. Check it
Open the page as a visitor. You should see your question, and clicking it should open the answer.
Troubleshooting
| What you see | Why | What to do |
|---|---|---|
| The page shows nothing | Every answer is still a draft | Publish at least one FAQ |
| The shortcode prints as text | It is inside a code block, or the tag is misspelled | Retype it in a paragraph block |
| The design is not the one you chose | The view attribute does not match a view slug |
Check it against Views |
| Only some answers appear | The shortcode has a category filter or a limit | Check the category and limit attributes |
What to do next
Views explains saved designs, which is where the ten shipped looks come from.