

Contents
On this page
Encoding - Plugixa Stream
An uploaded MP4 plays as it is: one file, one quality. Quality encoding turns it into several qualities with ffmpeg on your own server, as an adaptive stream (HLS). Viewers then get a Quality menu, and on Auto the player switches quality with the connection.
Audio languages and text subtitles inside the file are kept: each audio language becomes a choice in the player, and each text subtitle becomes a subtitle track on the episode.
Encoding works on videos from your Media Library only. File URLs, HLS streams, embeds and Bunny Stream episodes are not encoded here. Bunny Stream encodes its own videos, see Bunny Stream.
Requirements
- ffmpeg and ffprobe on the server, in the same folder.
- A server that may start programs. PHP’s
proc_openmust not be disabled. Most shared hosting turns it off; a VPS or a dedicated server usually allows it. - CPU time and disk space. Each encode uses all CPU cores, and every quality is stored next to the original upload.
Open Settings -> Quality encoding. The tab says straight away whether the server can encode:
- A green message such as “ffmpeg 6.1 is ready on this server.” means you are set. It names the version found, and administrators also see the path.
- “ffmpeg was not found on this server.” means ffmpeg is missing or not where the plugin looks.
On most VPS, install it with
apt install ffmpeg, or enter its path. - “This server does not allow starting programs (proc_open is disabled), so it cannot encode video.” means this server cannot encode at all. Use Bunny Stream instead.
Settings
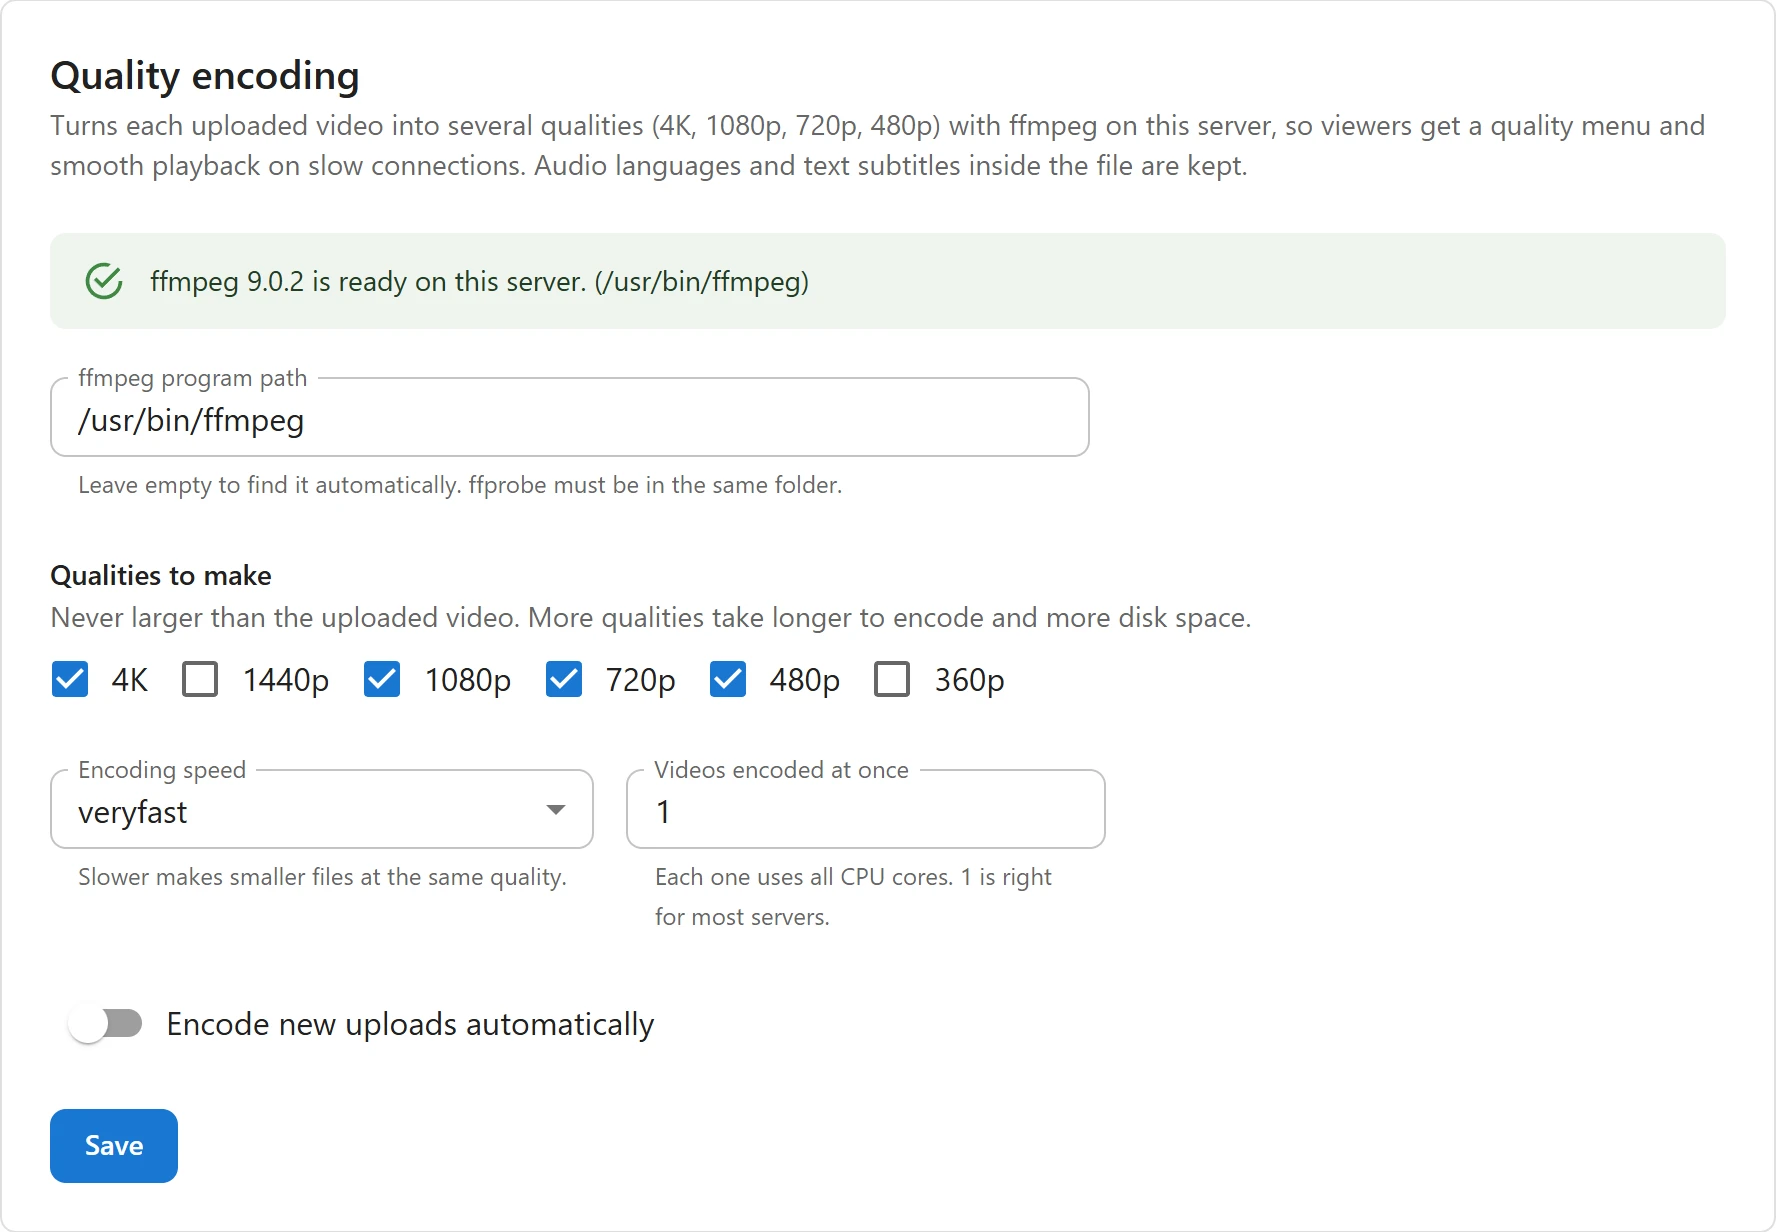
| Setting | What it does | Default |
|---|---|---|
| ffmpeg program path | “Leave empty to find it automatically. ffprobe must be in the same folder.” The plugin looks in the usual folders, such as /usr/bin and /usr/local/bin. Only site administrators see this field, and it only accepts a program named ffmpeg. |
Empty |
| Qualities to make | 4K, 1440p, 1080p, 720p, 480p and 360p. “Never larger than the uploaded video. More qualities take longer to encode and more disk space.” | 4K, 1080p, 720p, 480p |
| Encoding speed | The x264 preset, from ultrafast to slow. “Slower makes smaller files at the same quality.” |
veryfast |
| Videos encoded at once | 1 to 4. “Each one uses all CPU cores. 1 is right for most servers.” | 1 |
| Encode new uploads automatically | Queues an episode as soon as it is saved with a new Media Library video. | Off |
This tab saves itself: click Save under it.
The qualities follow the short side of the picture, so a vertical 1080 x 1920 episode counts as 1080p. A quality is never larger than the upload, and never spends more bits than the upload has: re-encoding a low-bitrate phone clip does not make it bigger. A video smaller than every ticked quality still gets one quality, at its own size.
Encode an episode
- Open the episode (or the movie’s video) and make sure its video is a file from the Media Library. Save it once if it is new.
- In the Quality encoding block of the dialog, click Encode qualities.
- Leave the dialog open or close it: the encode runs in the background.
The block only appears on a saved episode, when the server can encode and the video is a Media Library file.
| Status | What it means |
|---|---|
| “This episode plays the uploaded file as it is.” | Not encoded yet. |
| “Waiting to start…” | Queued, waiting for a free slot. |
| “Encoding… 42%” | Running, with a progress bar. |
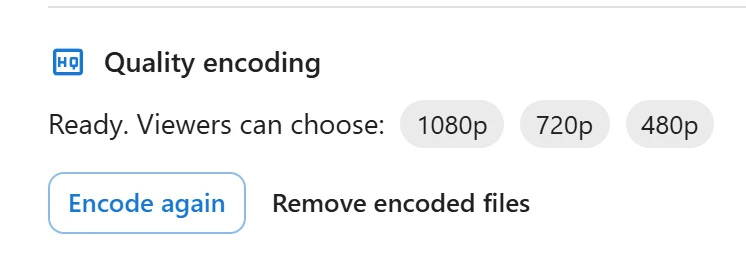
| “Ready. Viewers can choose:” | Done, with a chip per quality and the number of audio languages when there are several. Viewers now get the stream. |
| “Encoding failed:” | Stopped, with ffmpeg’s last message. |
Buttons:
- Encode again starts over, for example after changing the qualities in the settings.
- Cancel stops a running or waiting encode.
- Remove encoded files deletes the qualities. The episode plays its original upload again.
If you replace the episode’s video after an encode, the block says “The video was replaced after this encode, so viewers get the new file as it is. Encode again.” Viewers never get a stream made from an older file.
Deleting an episode deletes its encoded files, and stops its encode if one is running.
Queue and background processing
Each episode has one encode job. A WordPress scheduled event checks the queue every 30 seconds while there is work: it starts waiting jobs when a slot is free and follows running ones. An open episode dialog also moves the queue on every few seconds, so encoding works even where WP-Cron is off.
An encode whose progress has not moved for 15 minutes is stopped and marked as failed.
What gets made
- Each quality is H.264 video, with audio as AAC stereo at 128 kbit/s, in 6-second segments.
- Every audio language in the file is kept and offered in the player’s Audio menu.
- Every text subtitle stream in the file becomes a WebVTT track on the episode, with a From video chip. Captions marked for the hard of hearing become Captions (SDH). Picture-based subtitles cannot be read as text and are skipped. See Subtitles and audio tracks.
- The files go to
wp-content/uploads/plugixa-stream/hls/, in a folder with an unguessable name per episode. On Apache, the plugin also lets TV receivers read these streams, so encoded episodes can be cast.
Deleting the plugin with Delete all data switched on removes every encoded file. See Privacy and uninstall.
The quality menu
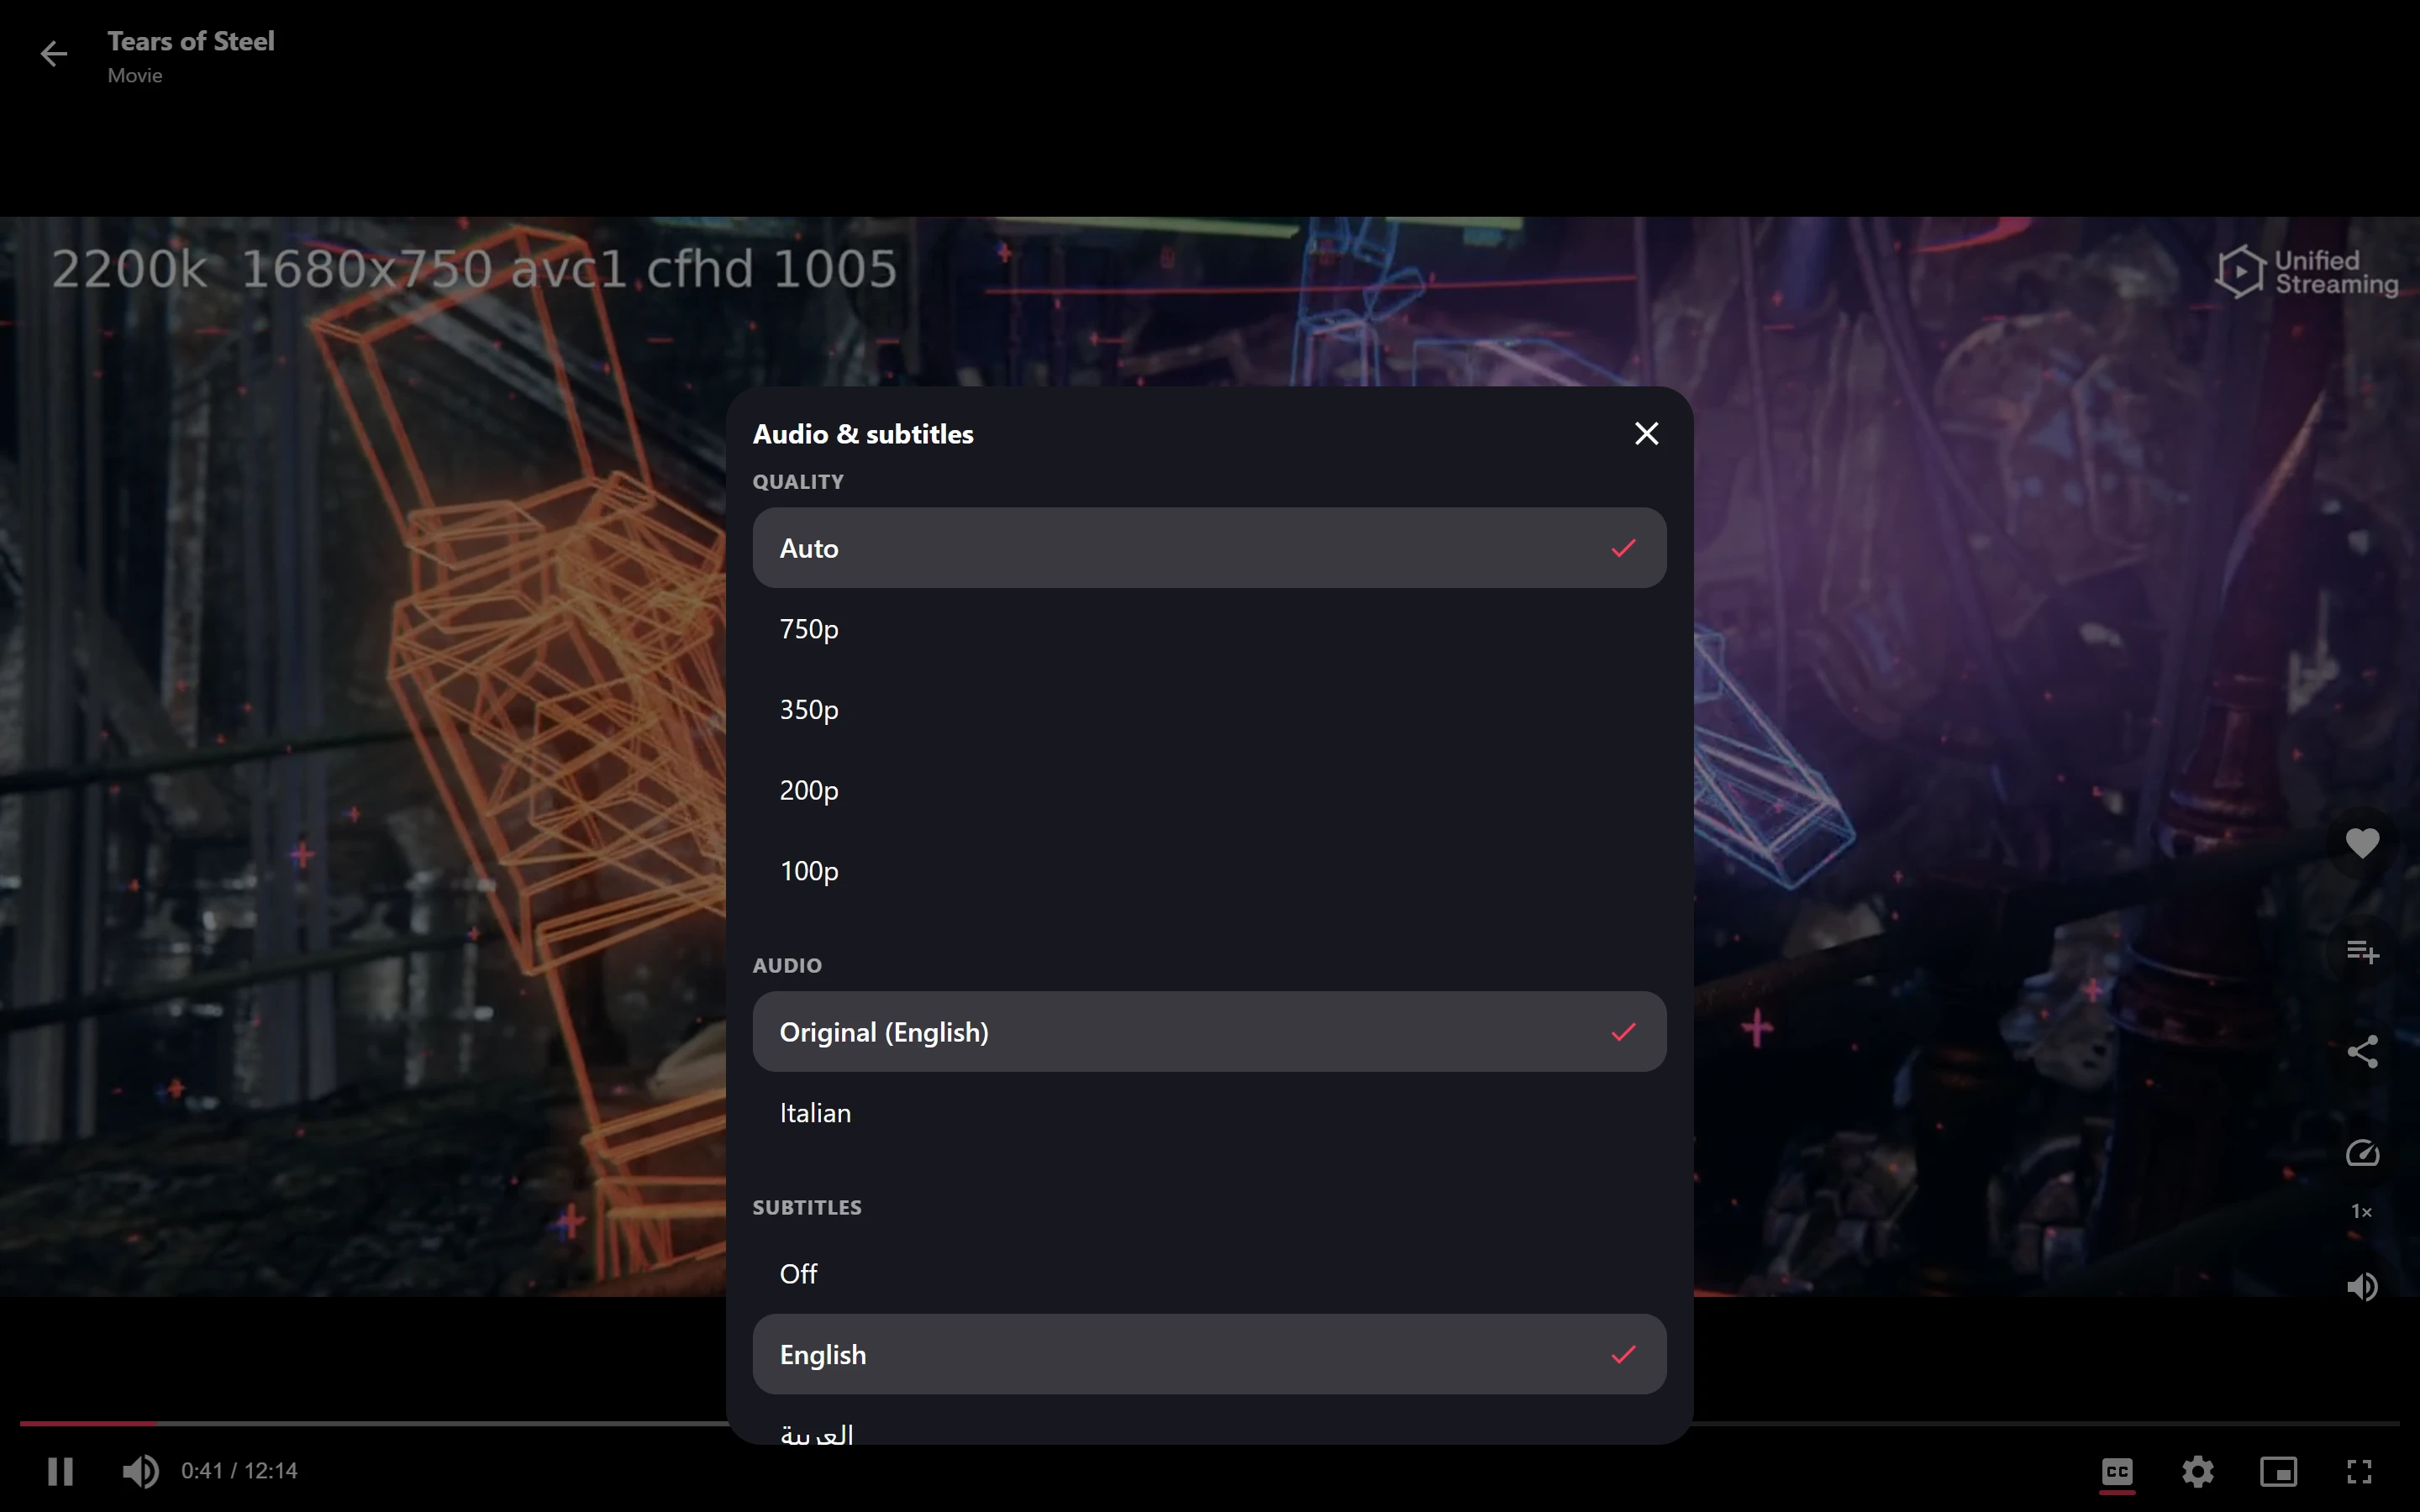
Once an episode is encoded, the player’s settings sheet has a Quality section: Auto, then each quality, largest first. A 4K stream is listed as “2160p 4K”. Auto picks the quality the connection can carry and changes it while the episode plays.
Related
Quick Links
Share